

A kitchen towel is more than just a utility item; it’s a small canvas waiting for a touch of personality. Before you begin your next project, I want you to think less about filling space and more about making a single, thoughtful mark.
The most charming embroidery isn’t always the most complex. Often, it’s a simple motif, perfectly executed, that transforms a plain piece of fabric into something special. It’s about choosing the right stitch for the texture you want to create, or the perfect thread color to complement the cloth.
Here, you’ll find twenty ideas designed to do just that. Each one is a small lesson in texture, line, and color—a chance to practice a technique that will make all your future work more polished and intentional. Let’s add a little quiet beauty to the heart of your home.
1. Render a Zesty Lemon with Satin Stitch

To achieve that plump, juicy look in your lemon slice, focus on the direction of your satin stitch.
Stitch each segment from the center radiating outward, keeping the stitches tight and parallel.
For an exceptionally clean edge, outline the entire motif with a whipped backstitch using a slightly darker yellow thread.
This technique not only defines the shape but also adds a subtle, rope-like texture that makes the design feel polished and complete.
2. Capture Rustic Texture with a Pine Sprig
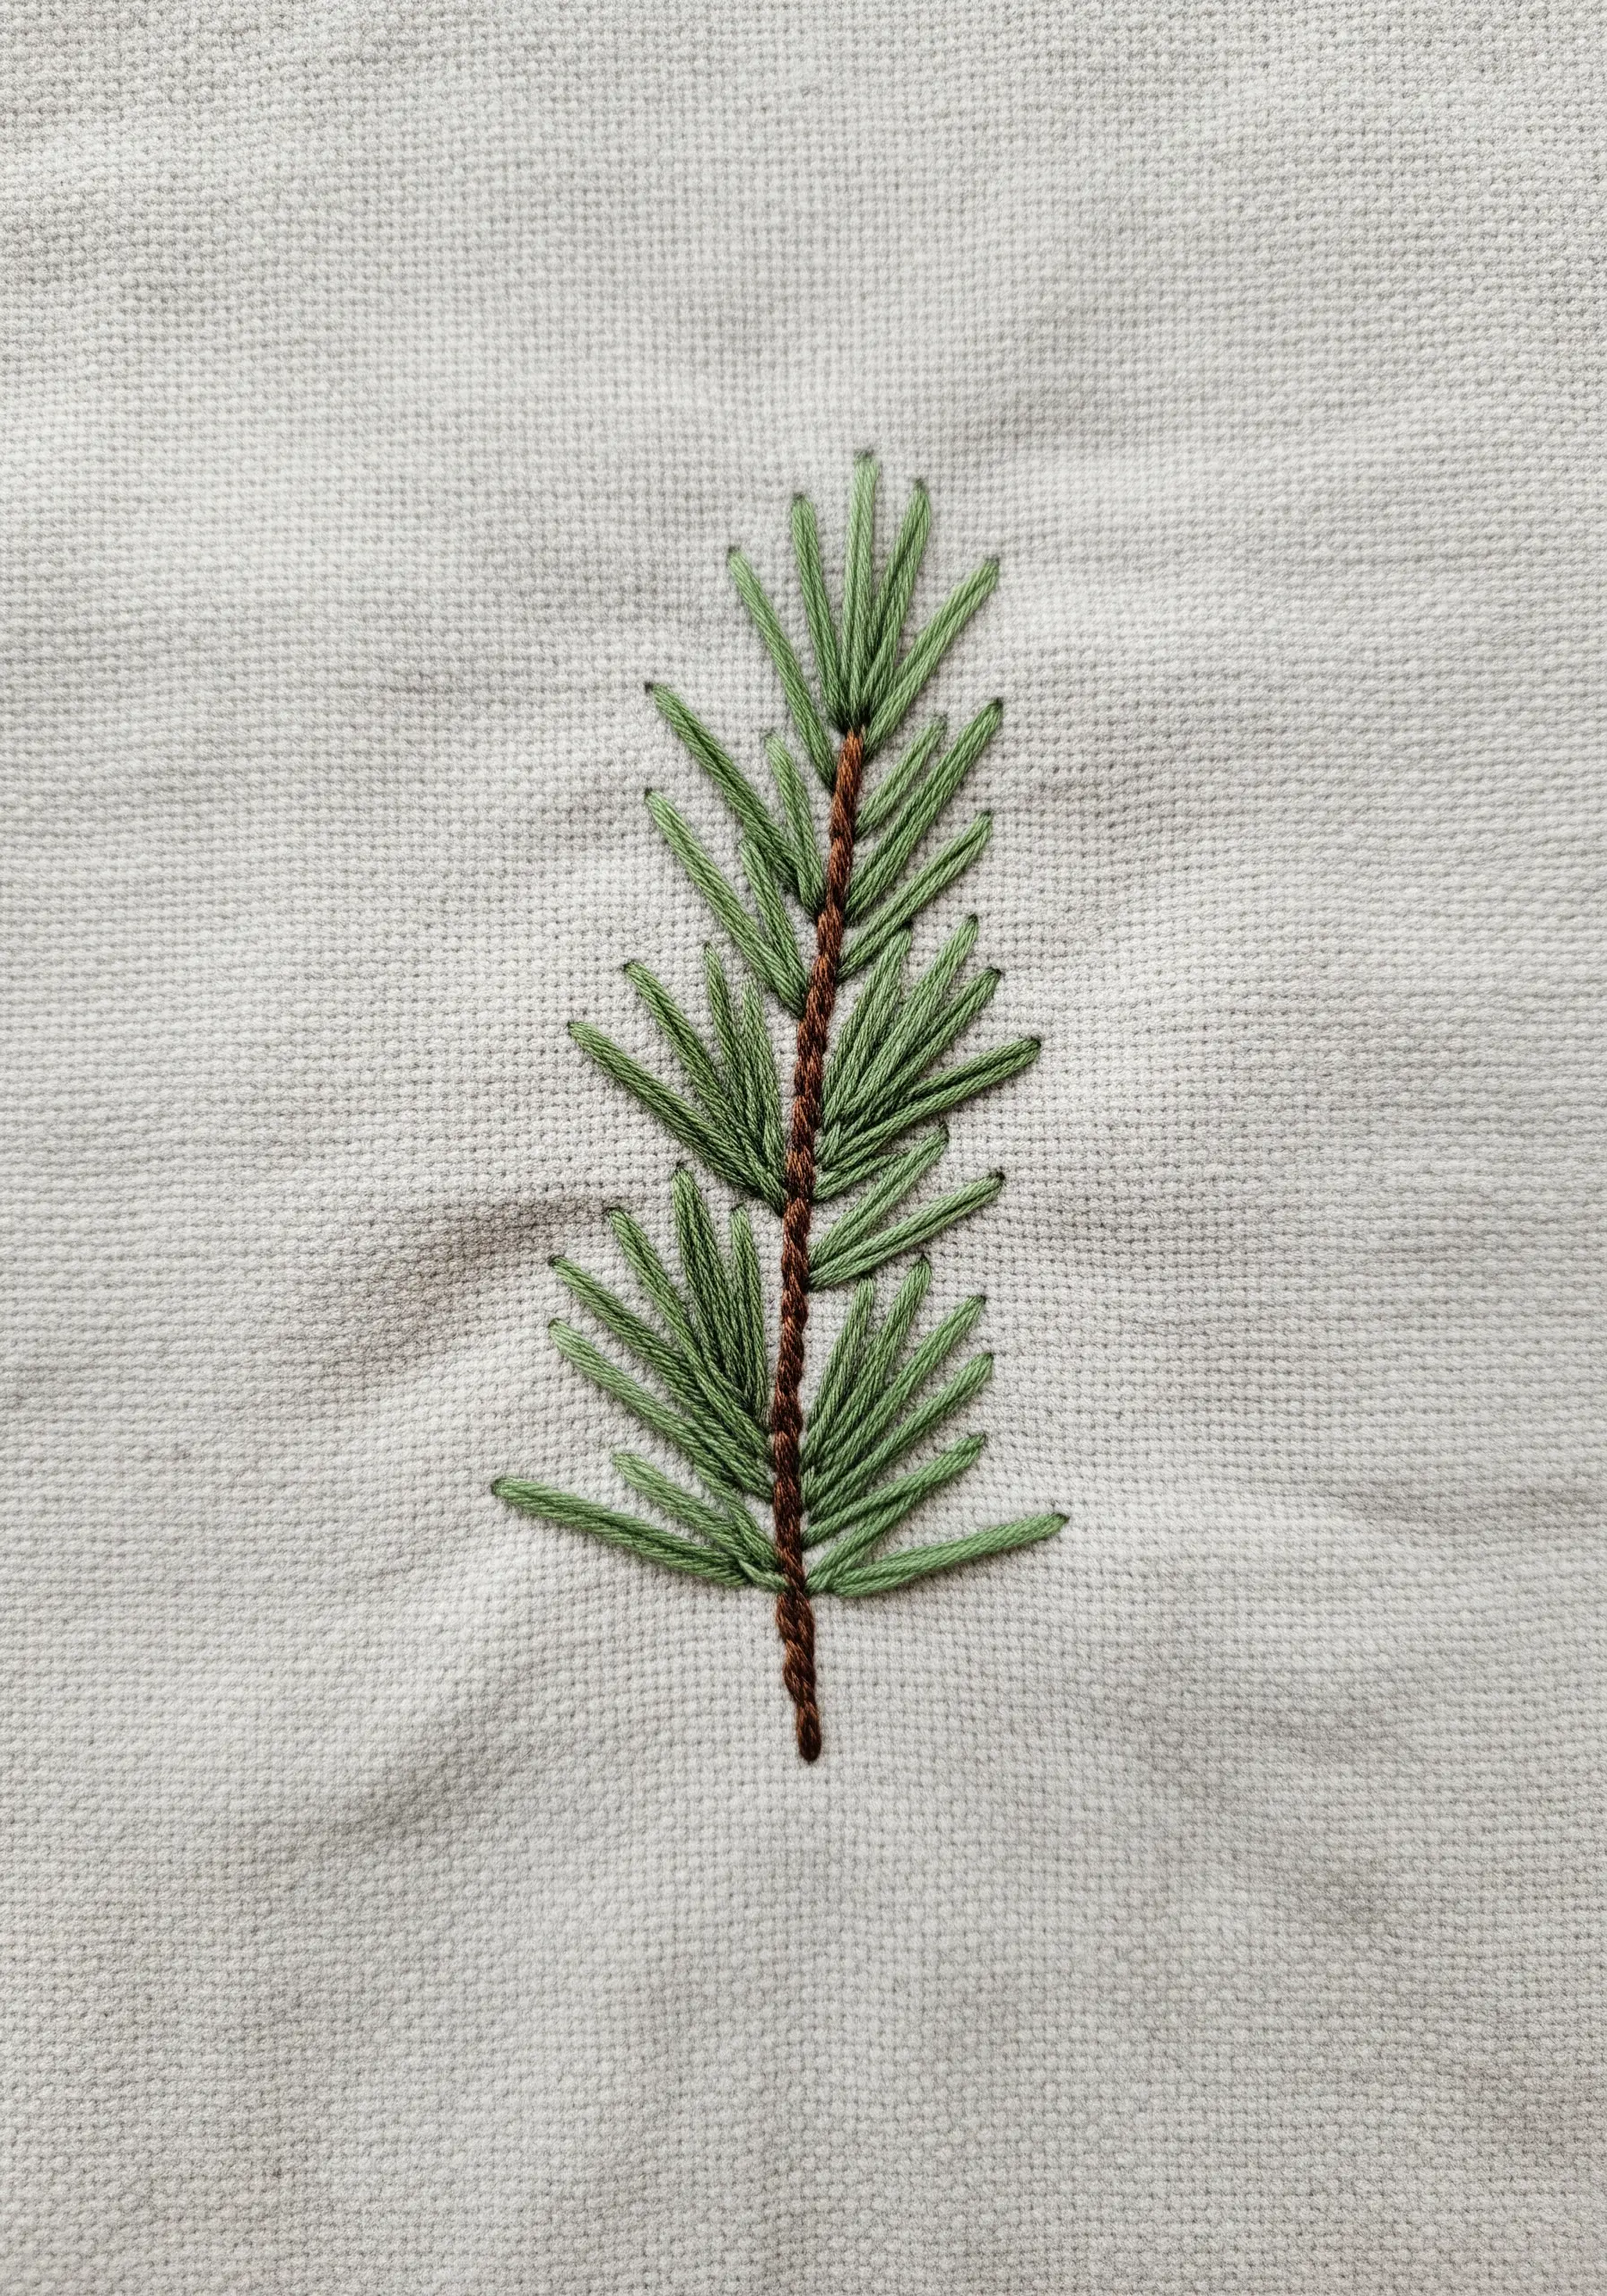
Create a natural-looking pine sprig by combining two simple, textural stitches.
Use a couched stitch for the central stem—lay down a thicker brown thread and tack it in place with a thinner one for a raised, woody effect.
For the needles, use an open fly stitch, varying the length and angle of each stitch slightly.
This creates a wonderfully organic and airy feel, far more realistic than a simple straight stitch would allow.
3. Add Depth to Coffee Beans on Waffle Weave
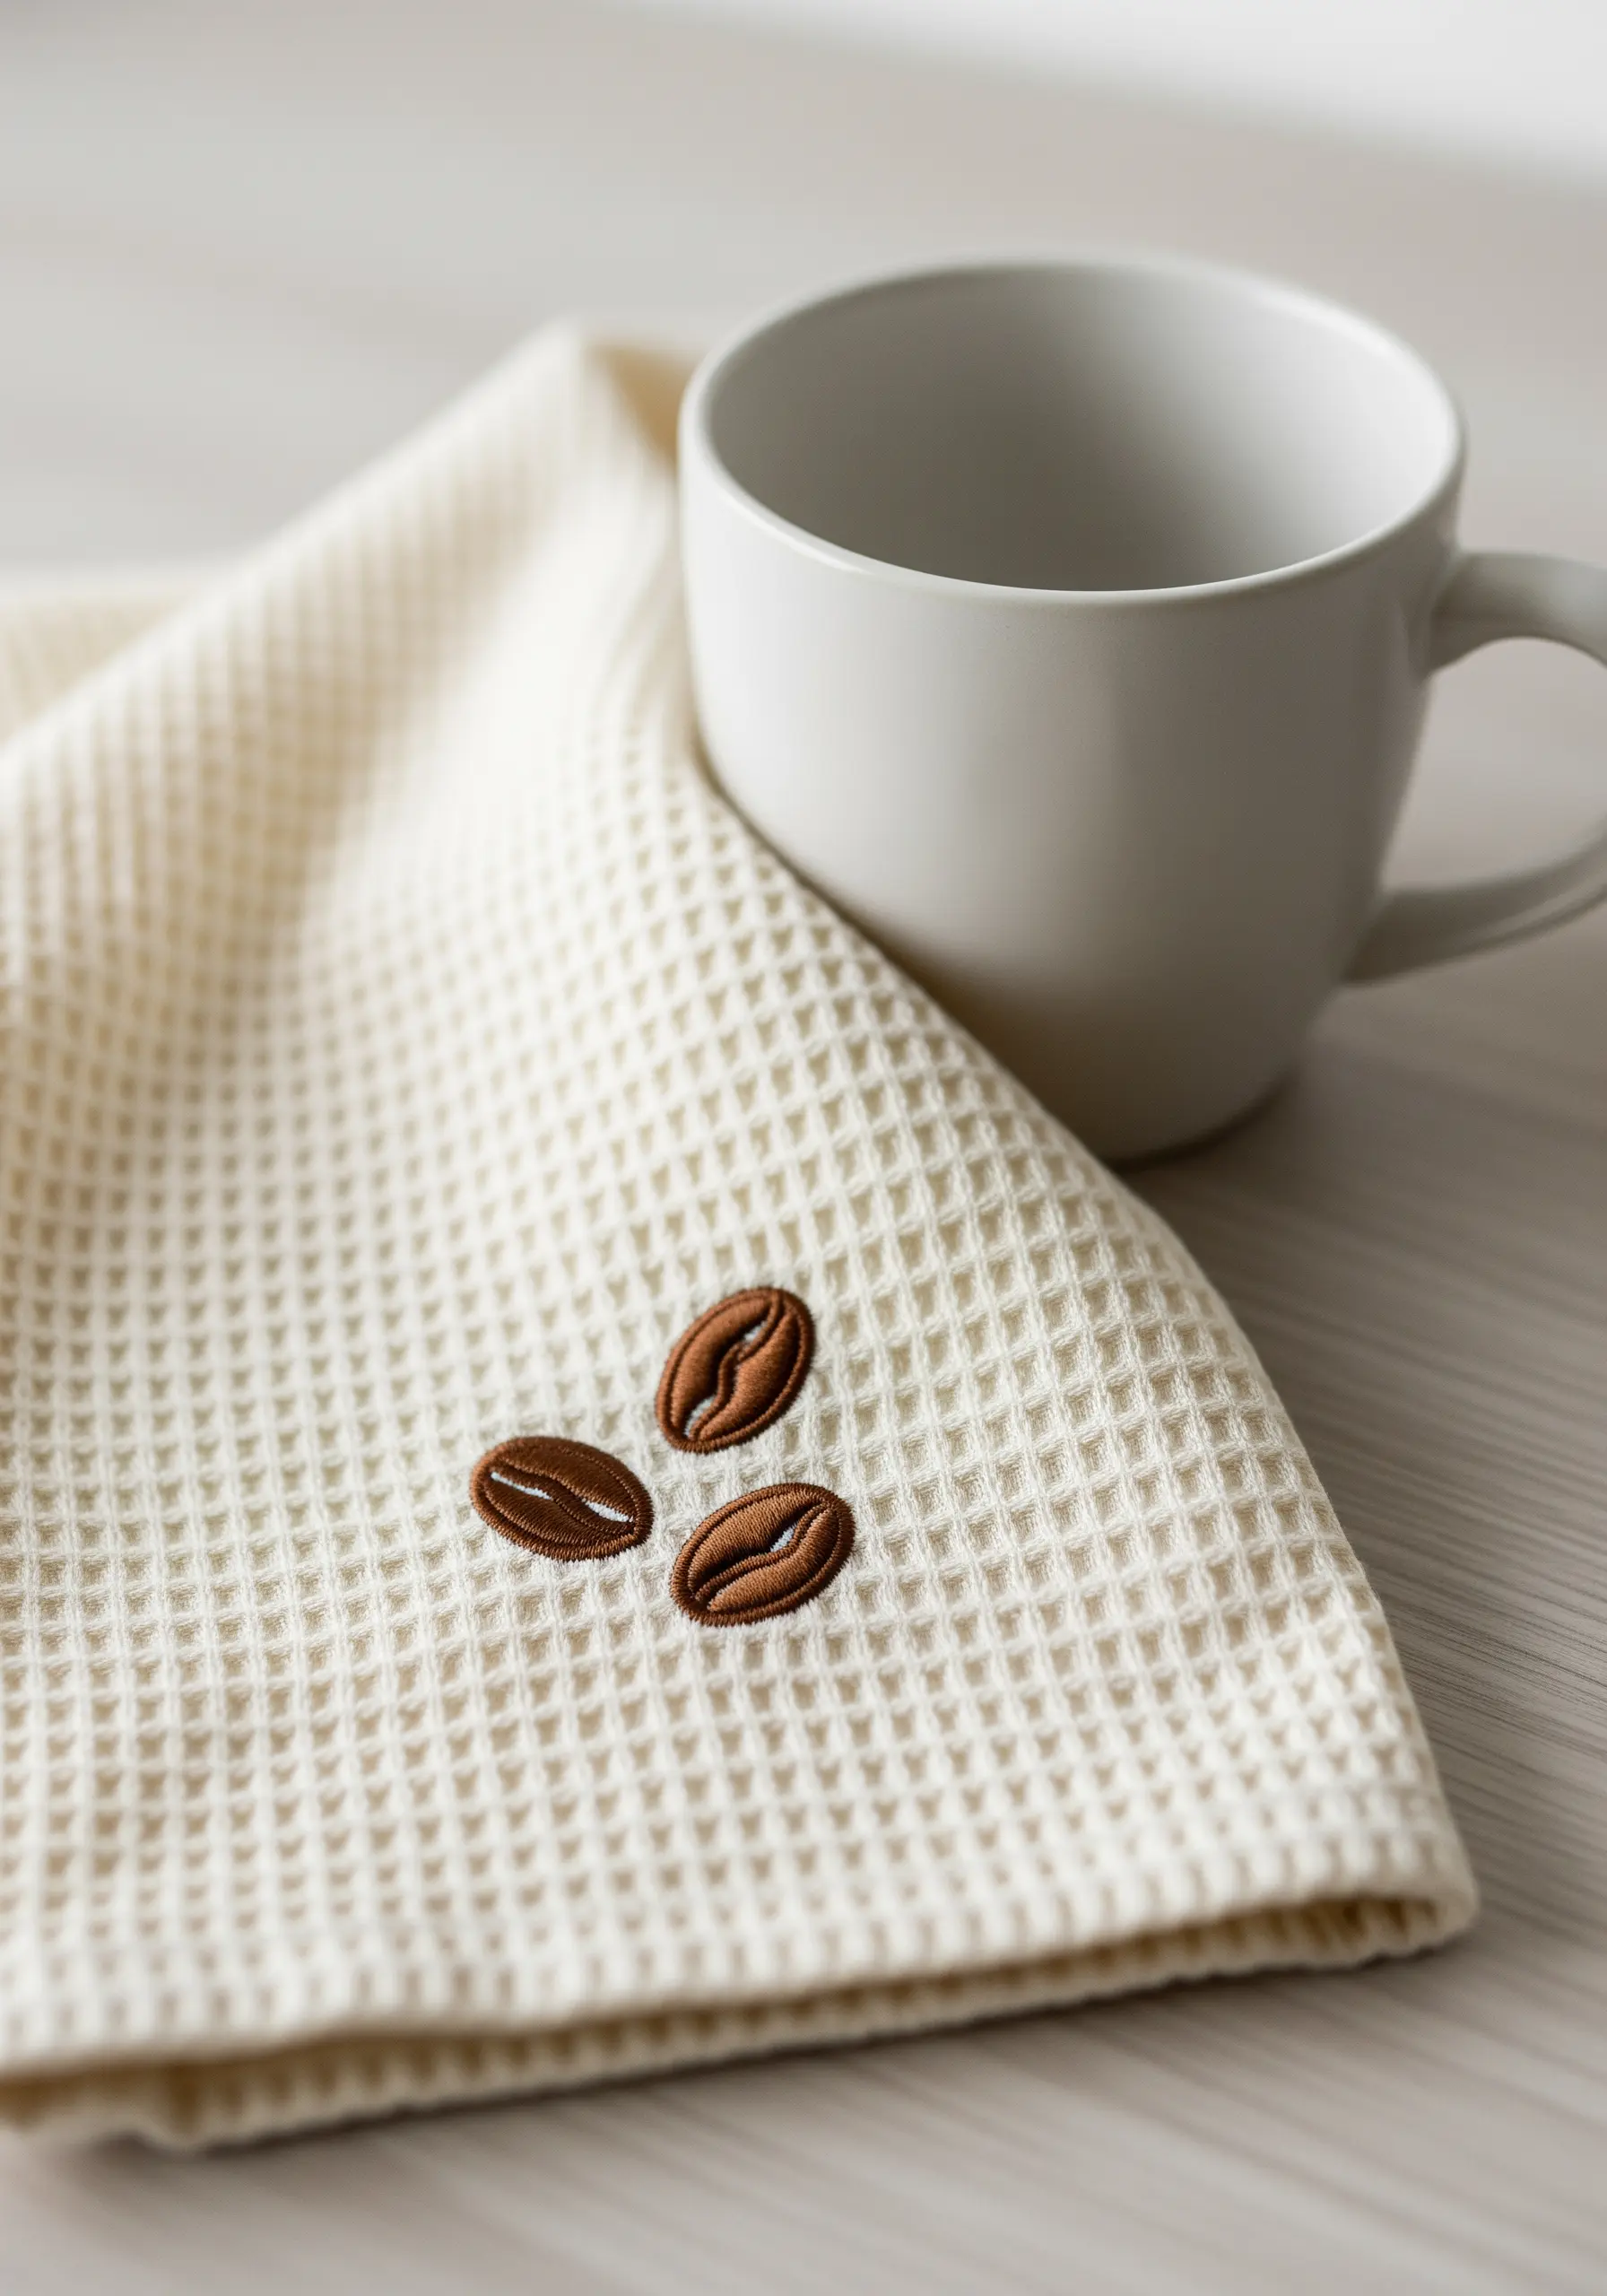
Stitching on textured fabric like waffle weave requires a stabilizer on the back to prevent distortion.
Fill each coffee bean with a directional satin stitch, following the bean’s natural curve.
The secret to that realistic sheen is a single, well-placed highlight.
Use one strand of a much lighter thread—ivory or pale beige—and add a few small satin stitches where the light would naturally hit. This tiny detail creates an illusion of gloss and dimension.
4. Achieve Precision with a Whisk Outline
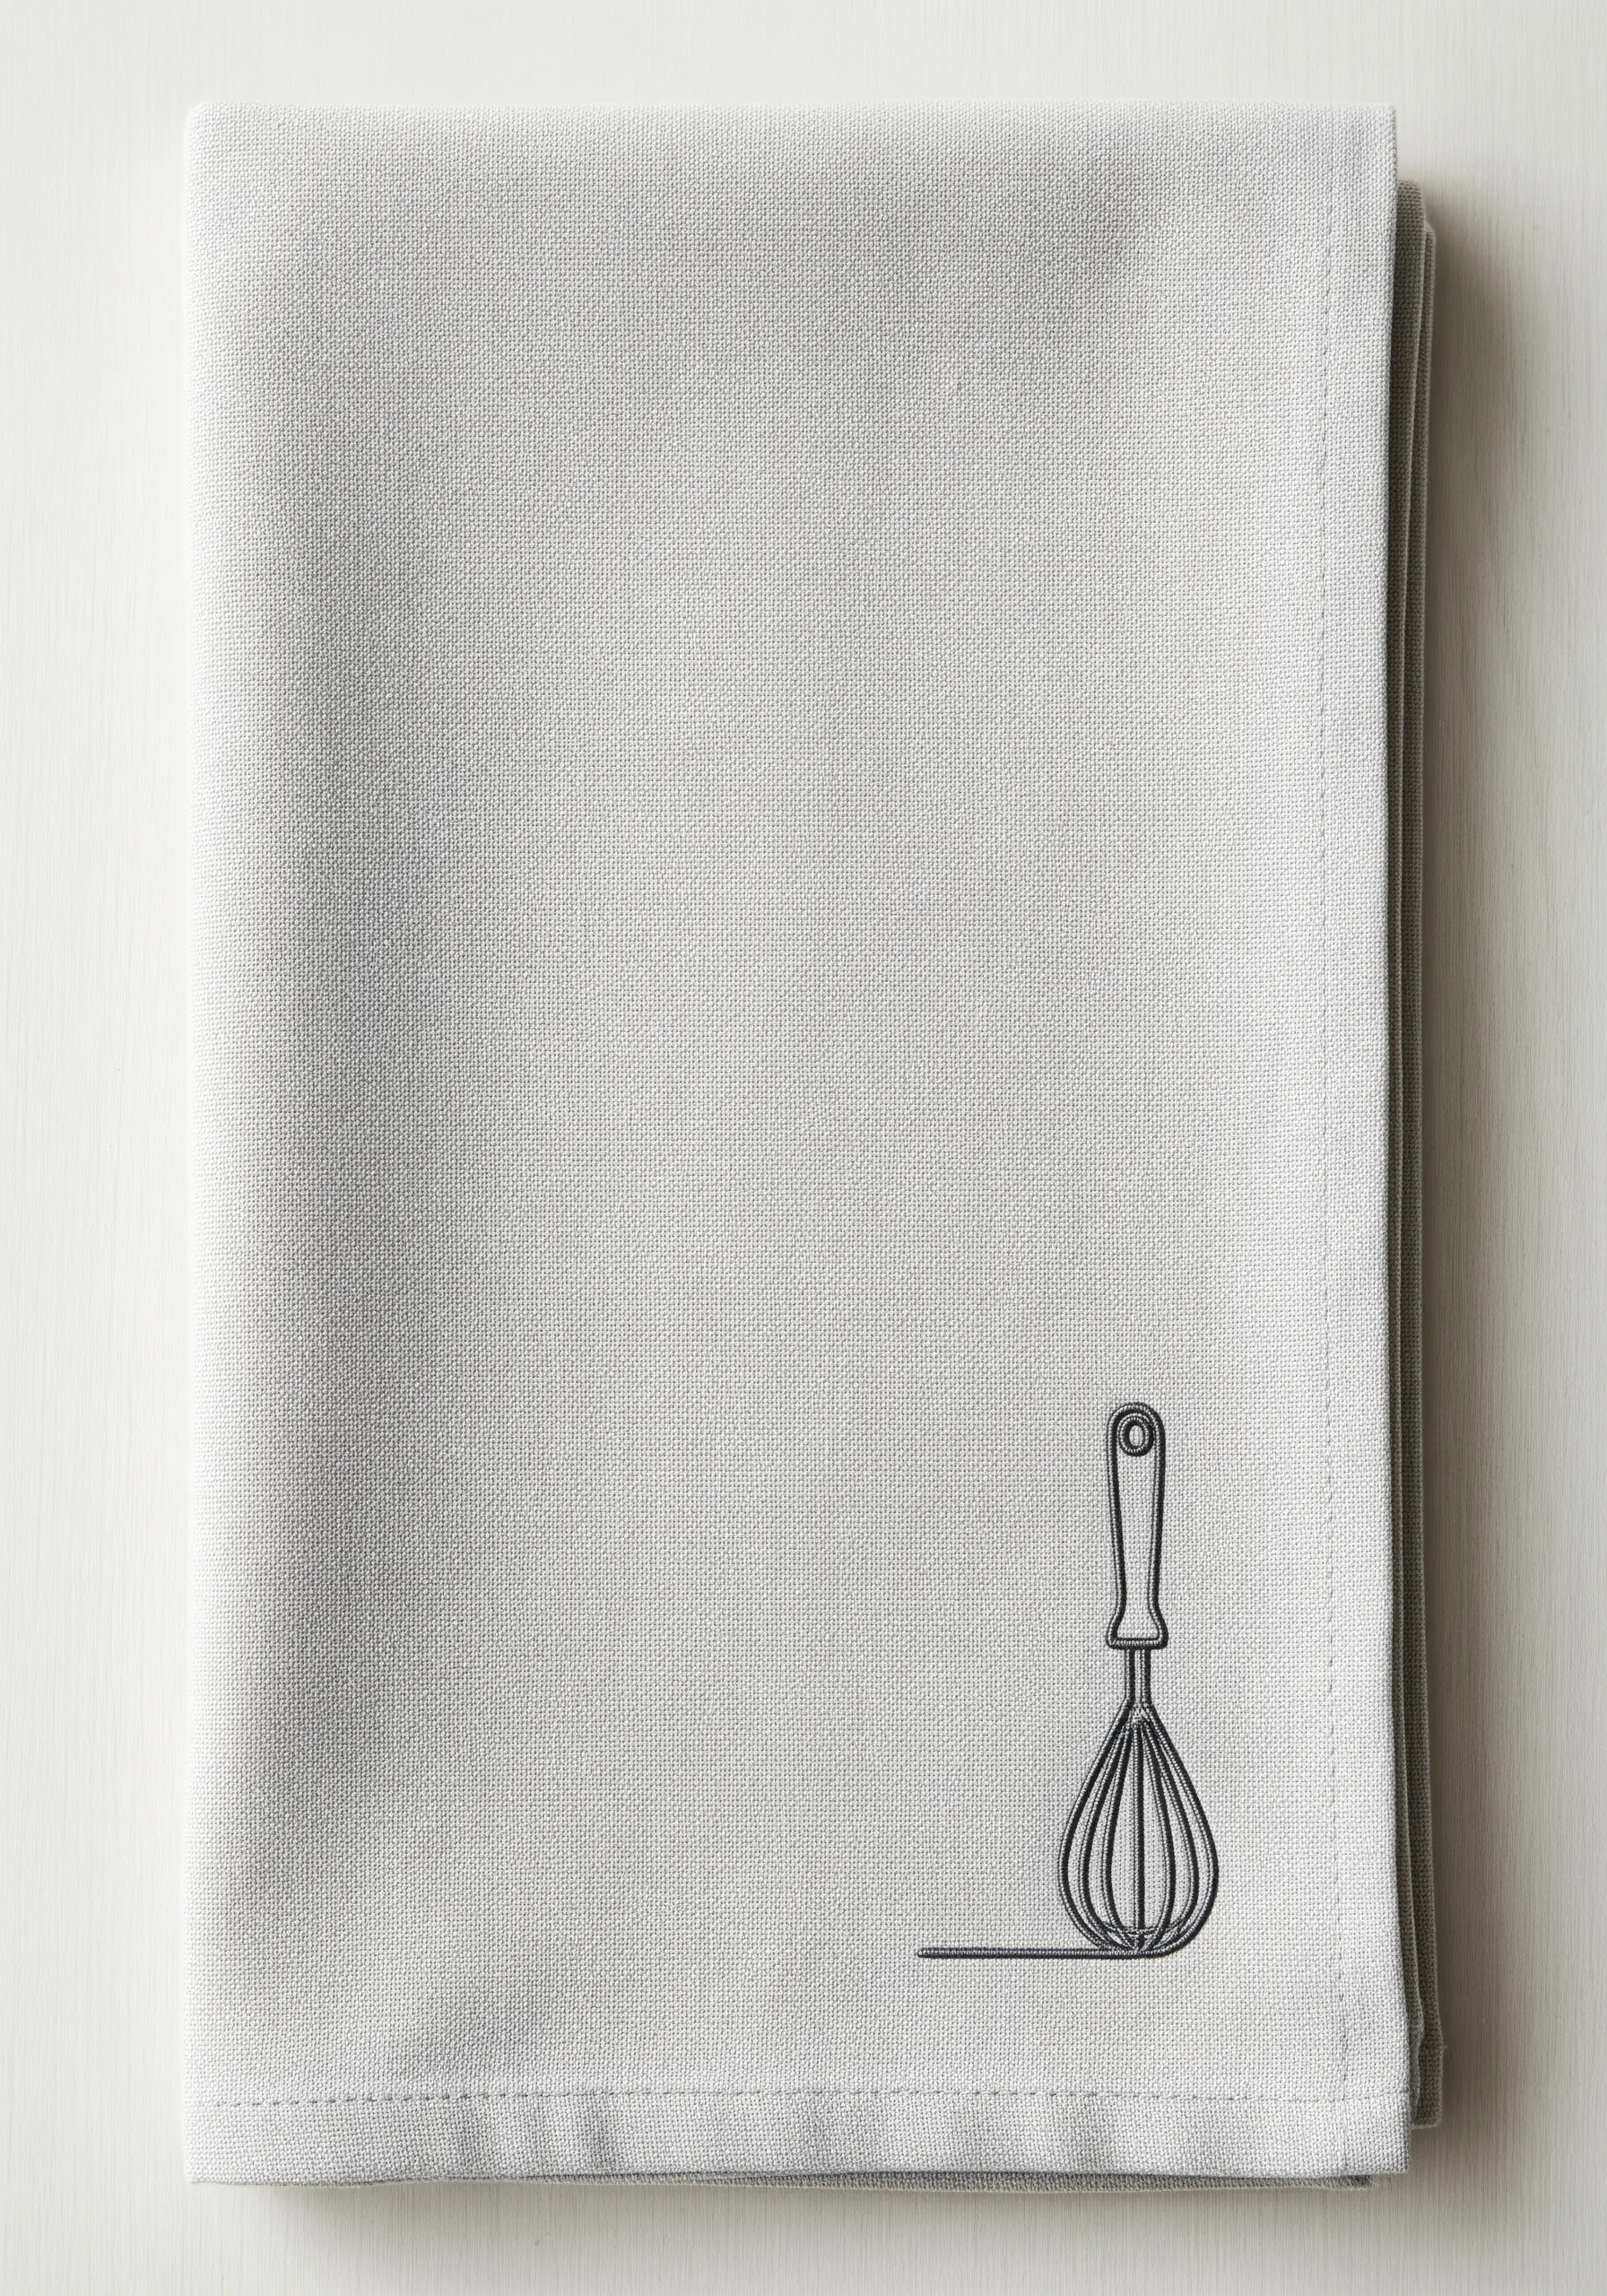
For clean, minimalist line art, your stitch consistency is everything.
Use a single strand of black floss and a meticulous backstitch to trace the whisk’s delicate shape.
To prevent the thread from sinking into the fabric weave, keep your stitches small and even, especially around curves.
The subtle shadow underneath is created with a few simple straight stitches, grounding the object and adding a surprising touch of realism.
5. Combine Texture for a Plump Strawberry
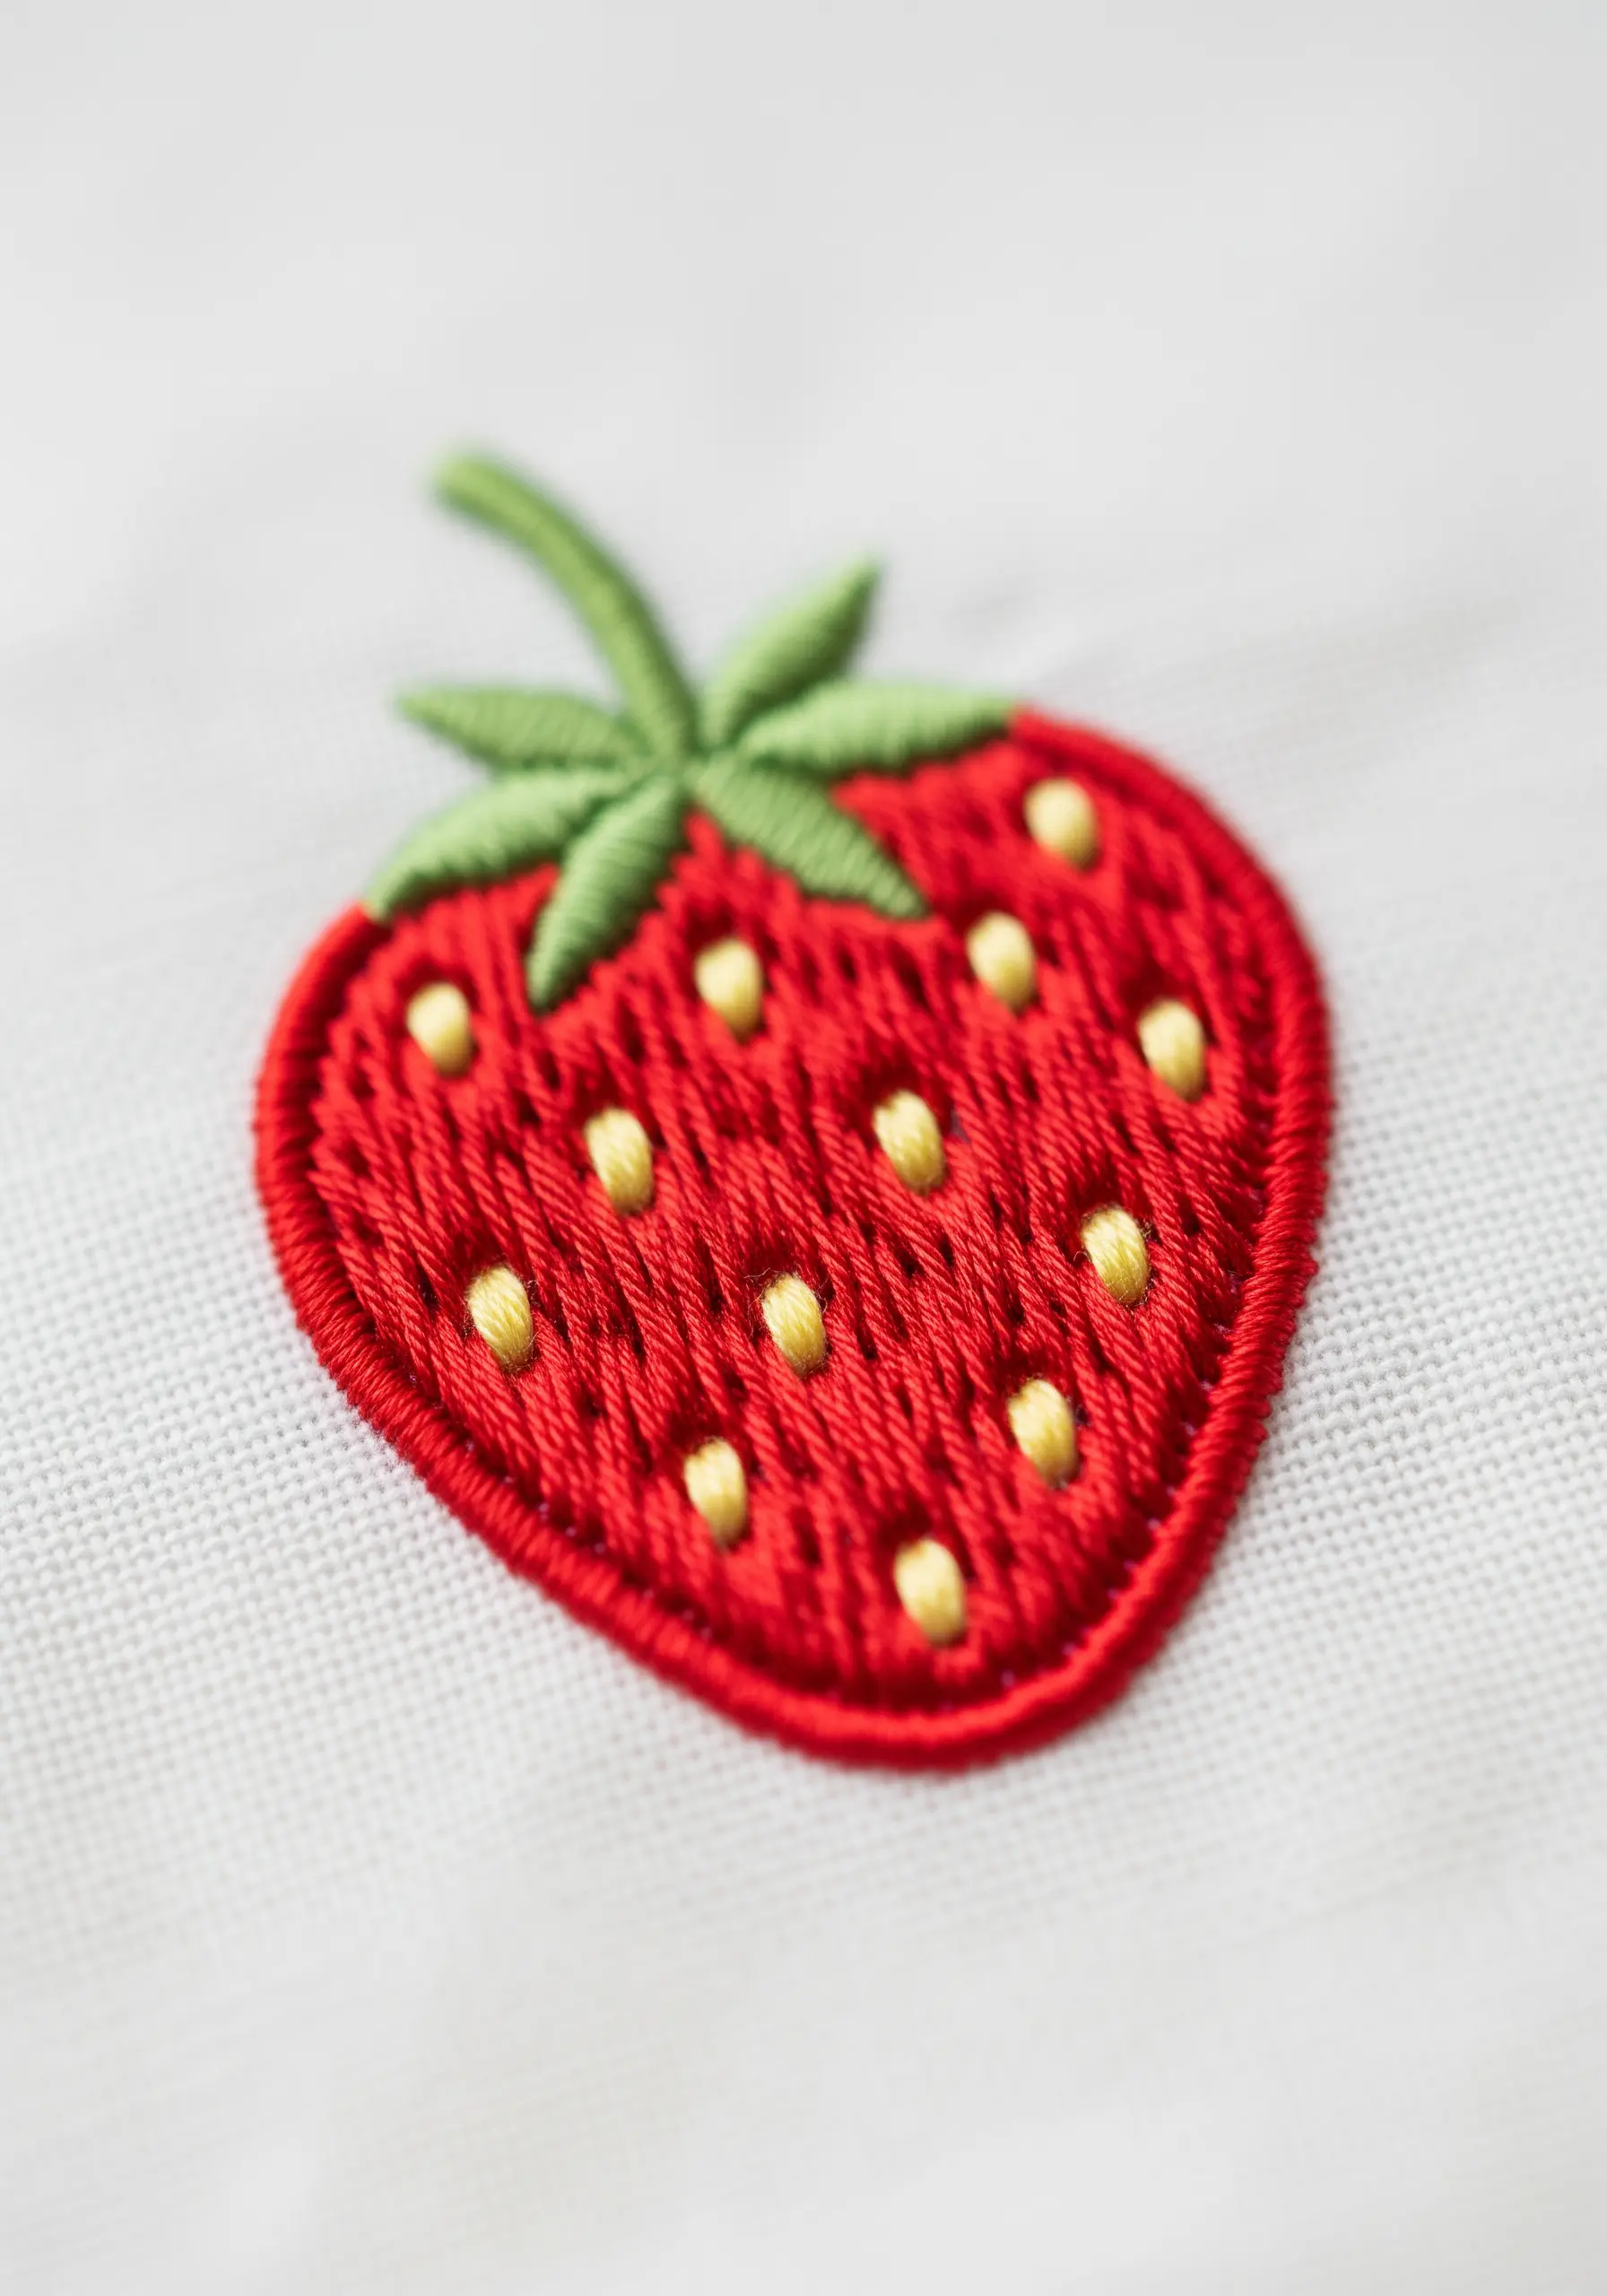
Give your strawberry a full, rounded shape by paying attention to the fill stitch direction.
Work your satin stitches horizontally across the fruit, which enhances its natural width and volume.
Instead of stitching the seeds, use tiny, single French knots with yellow thread scattered across the surface.
This adds delightful texture and makes the seeds appear to sit on top of the fruit, creating a more three-dimensional and tactile design.
6. Stitch a Clean, Geometric Honeycomb
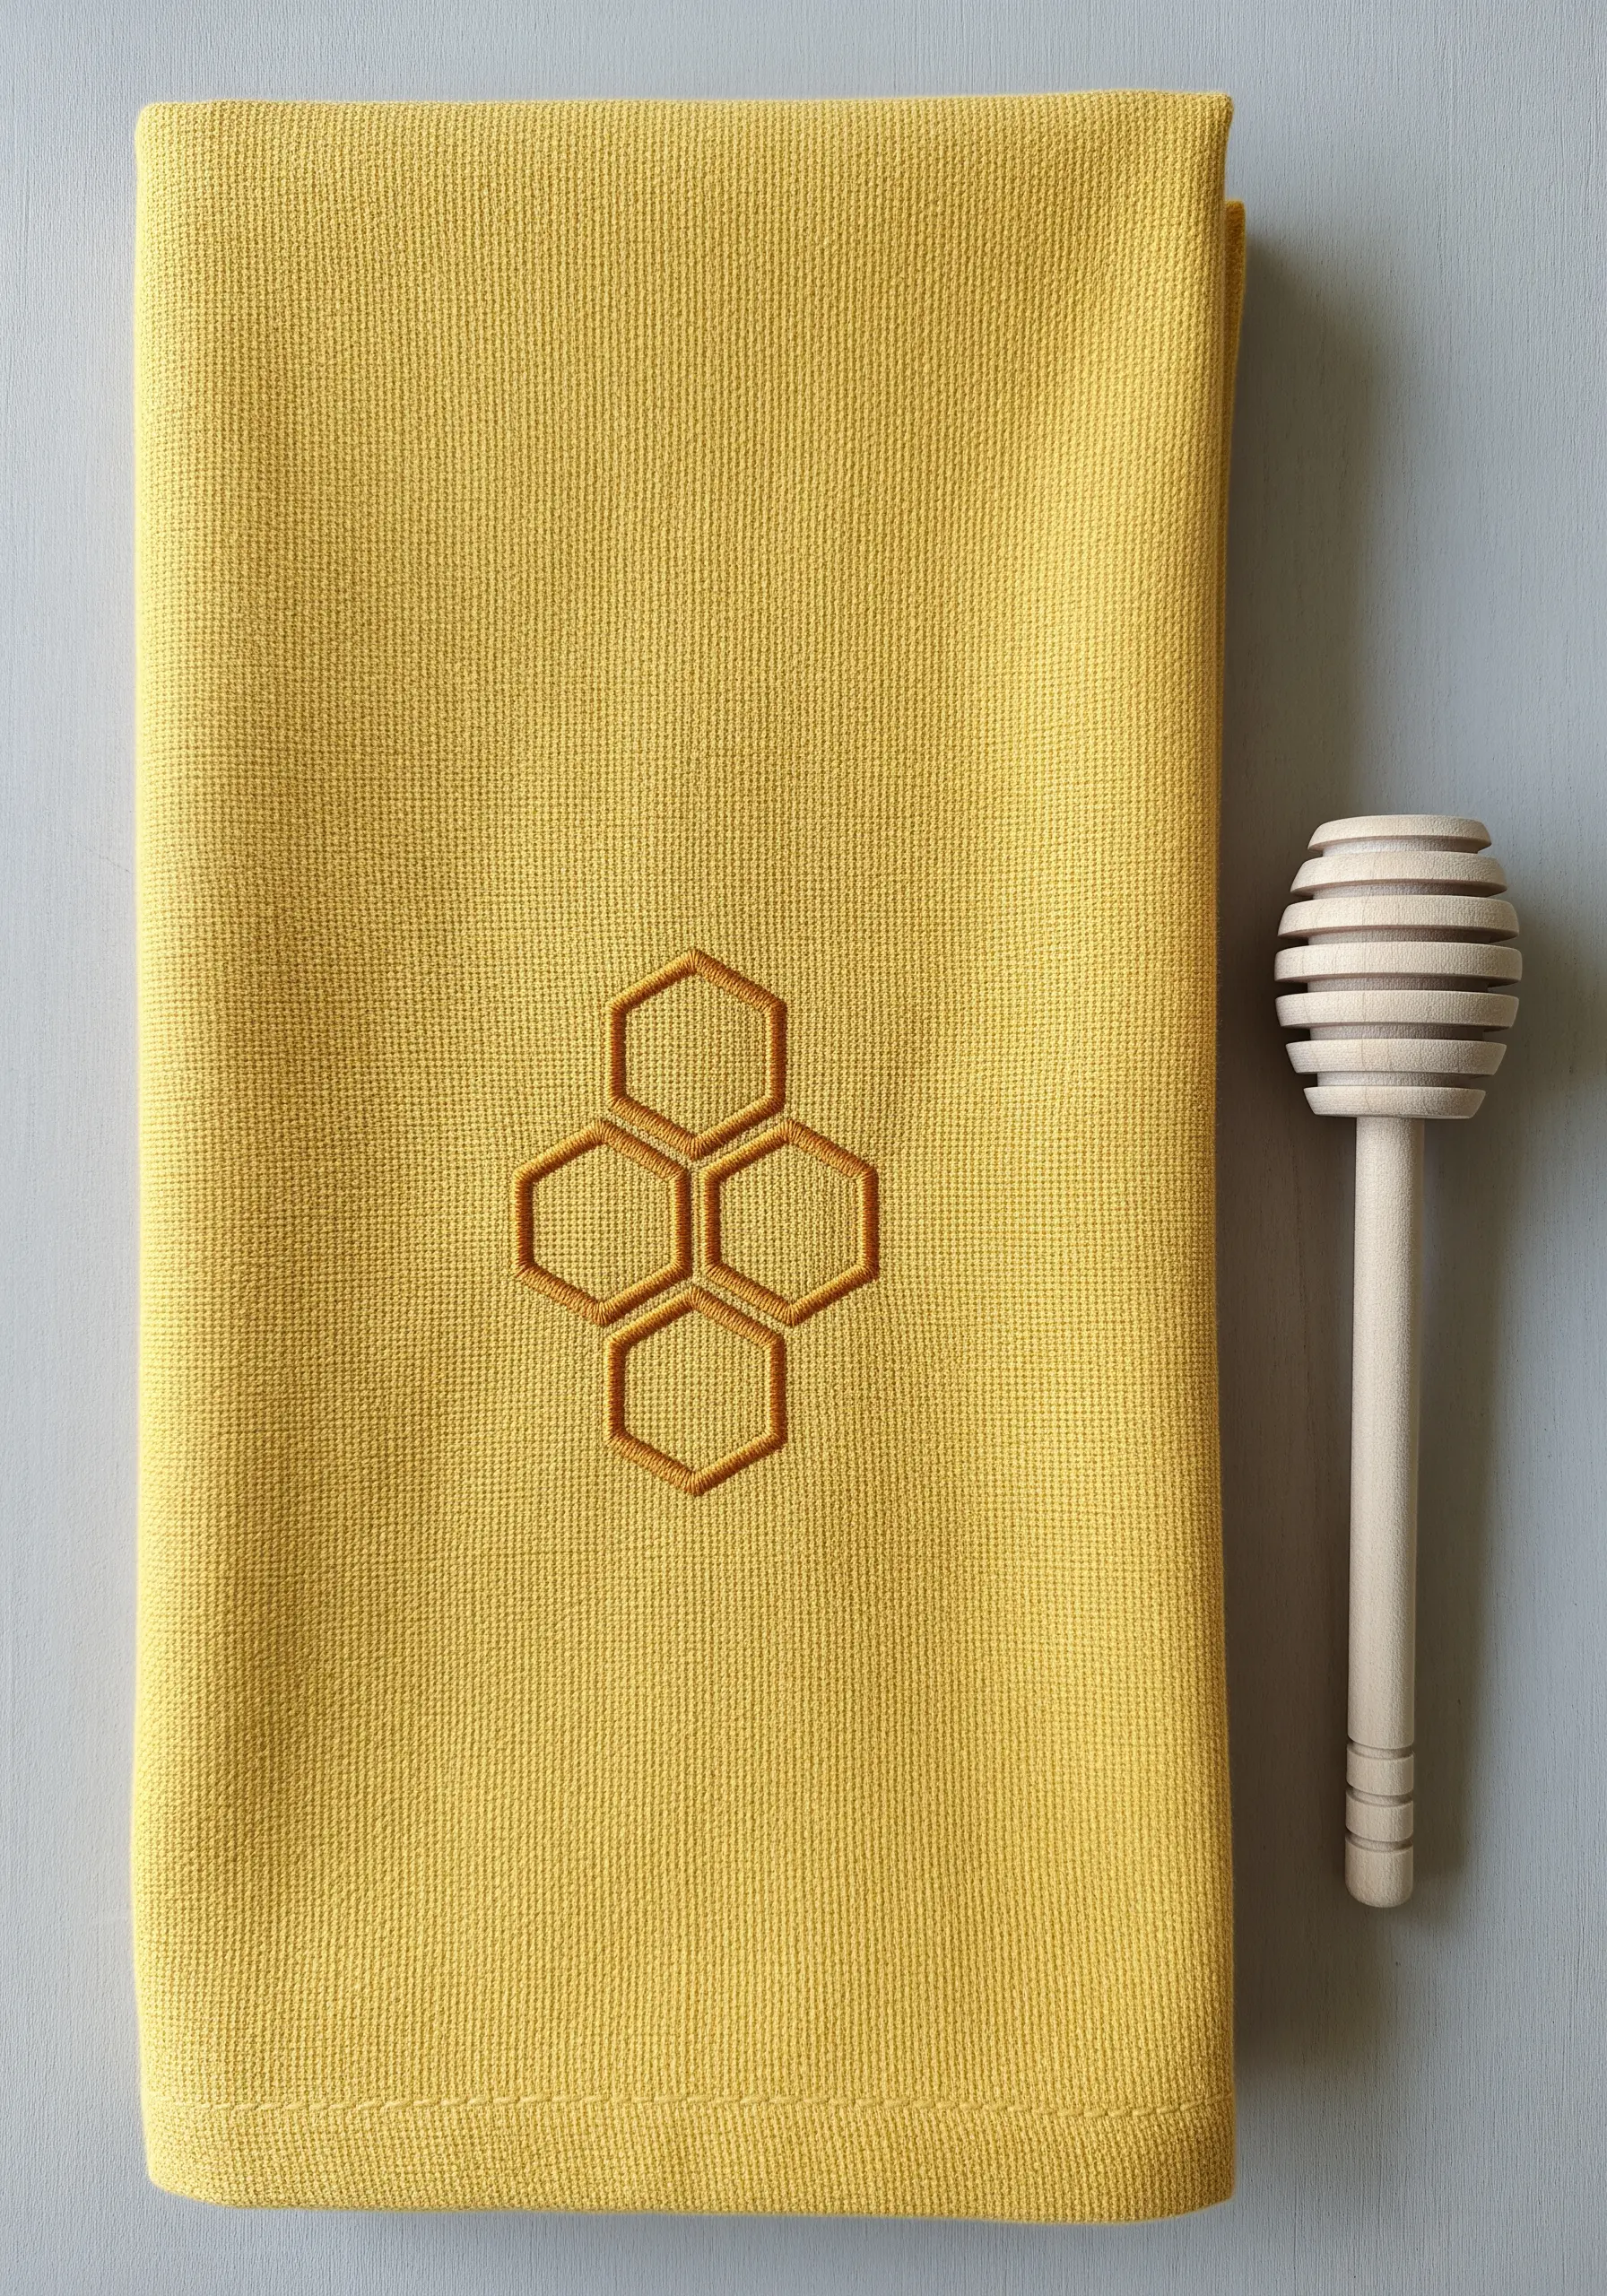
Geometric patterns demand precision, and a tone-on-tone color palette adds a layer of modern sophistication.
Choose a thread color just a few shades darker than your towel for an understated, elegant effect.
Use a simple backstitch or stem stitch for the honeycomb lines, ensuring each stitch is the exact same length.
A water-soluble marker is your best tool here; drawing the pattern perfectly before you start is the key to a flawless finish.
7. Create Woven Texture on a Garden Carrot
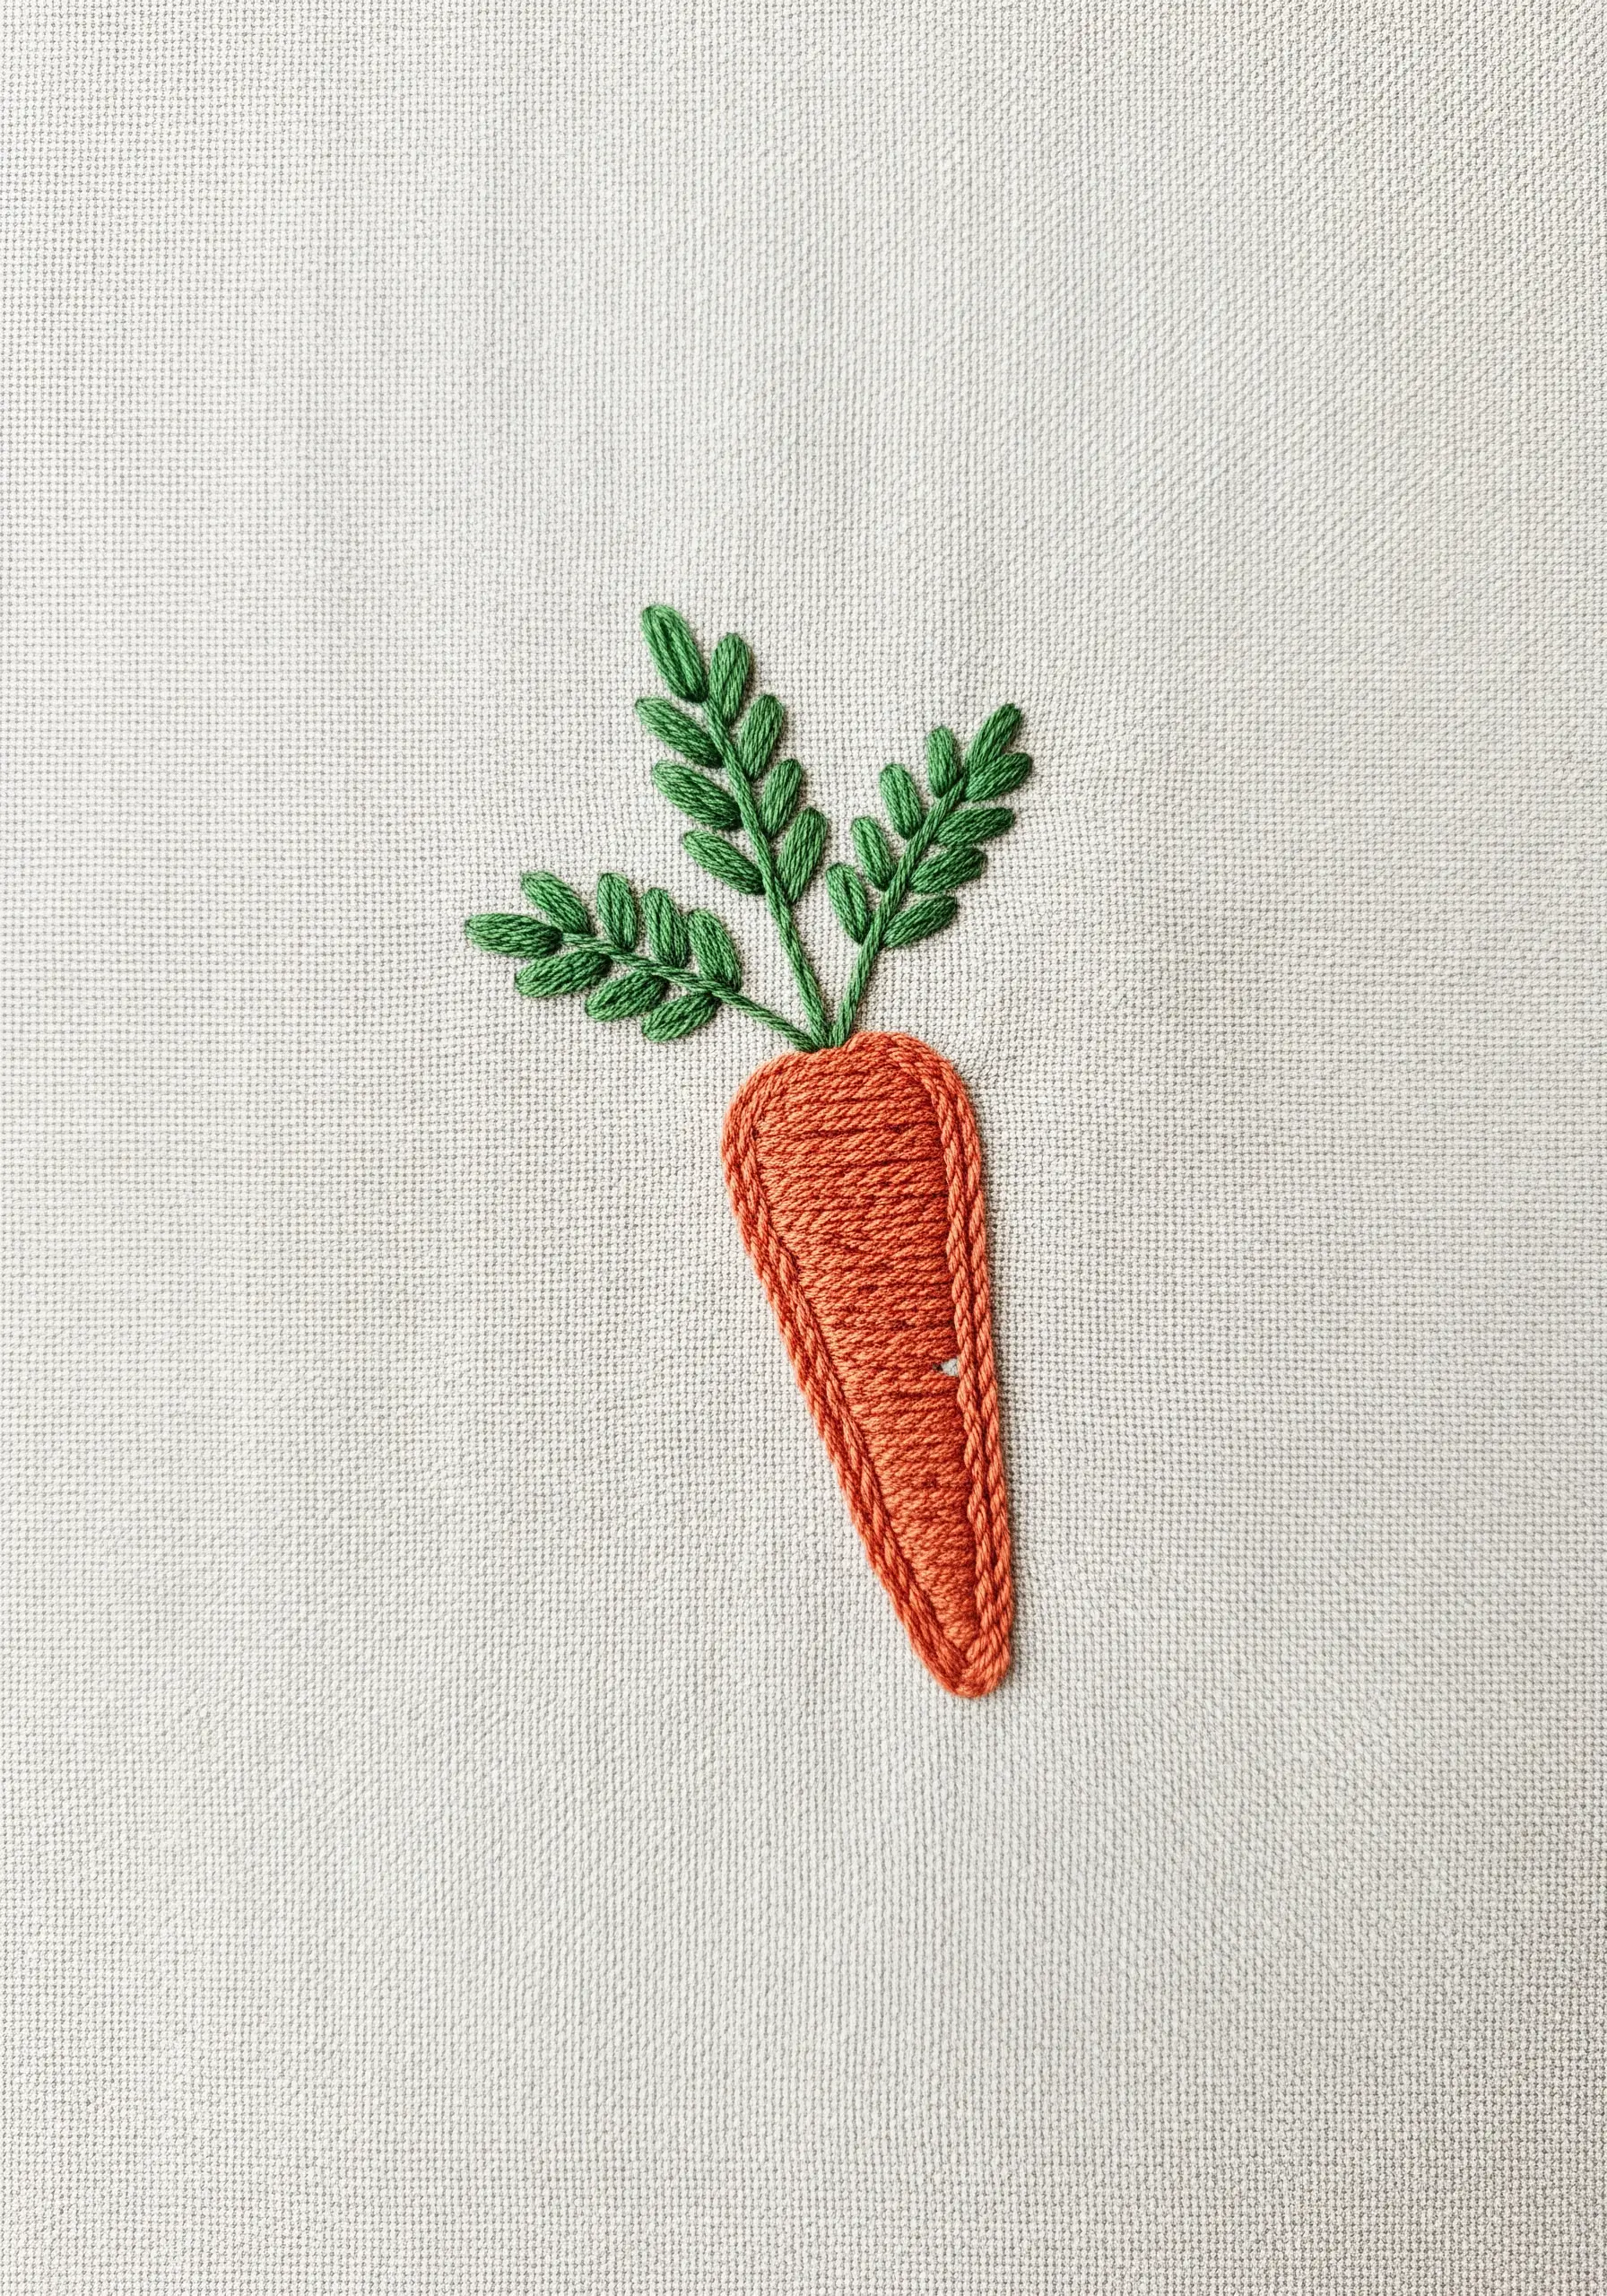
Instead of a standard satin stitch, fill your carrot with a brick stitch.
This technique involves offsetting each row of straight stitches, mimicking the look of a brick wall and creating a beautiful woven texture.
For the leafy tops, use a fishbone stitch to create a central vein and fill each leaf simultaneously.
Outlining the carrot with a chain stitch adds a final, rustic touch that defines the shape perfectly.
8. Evoke Warmth with a Simple Steam Outline
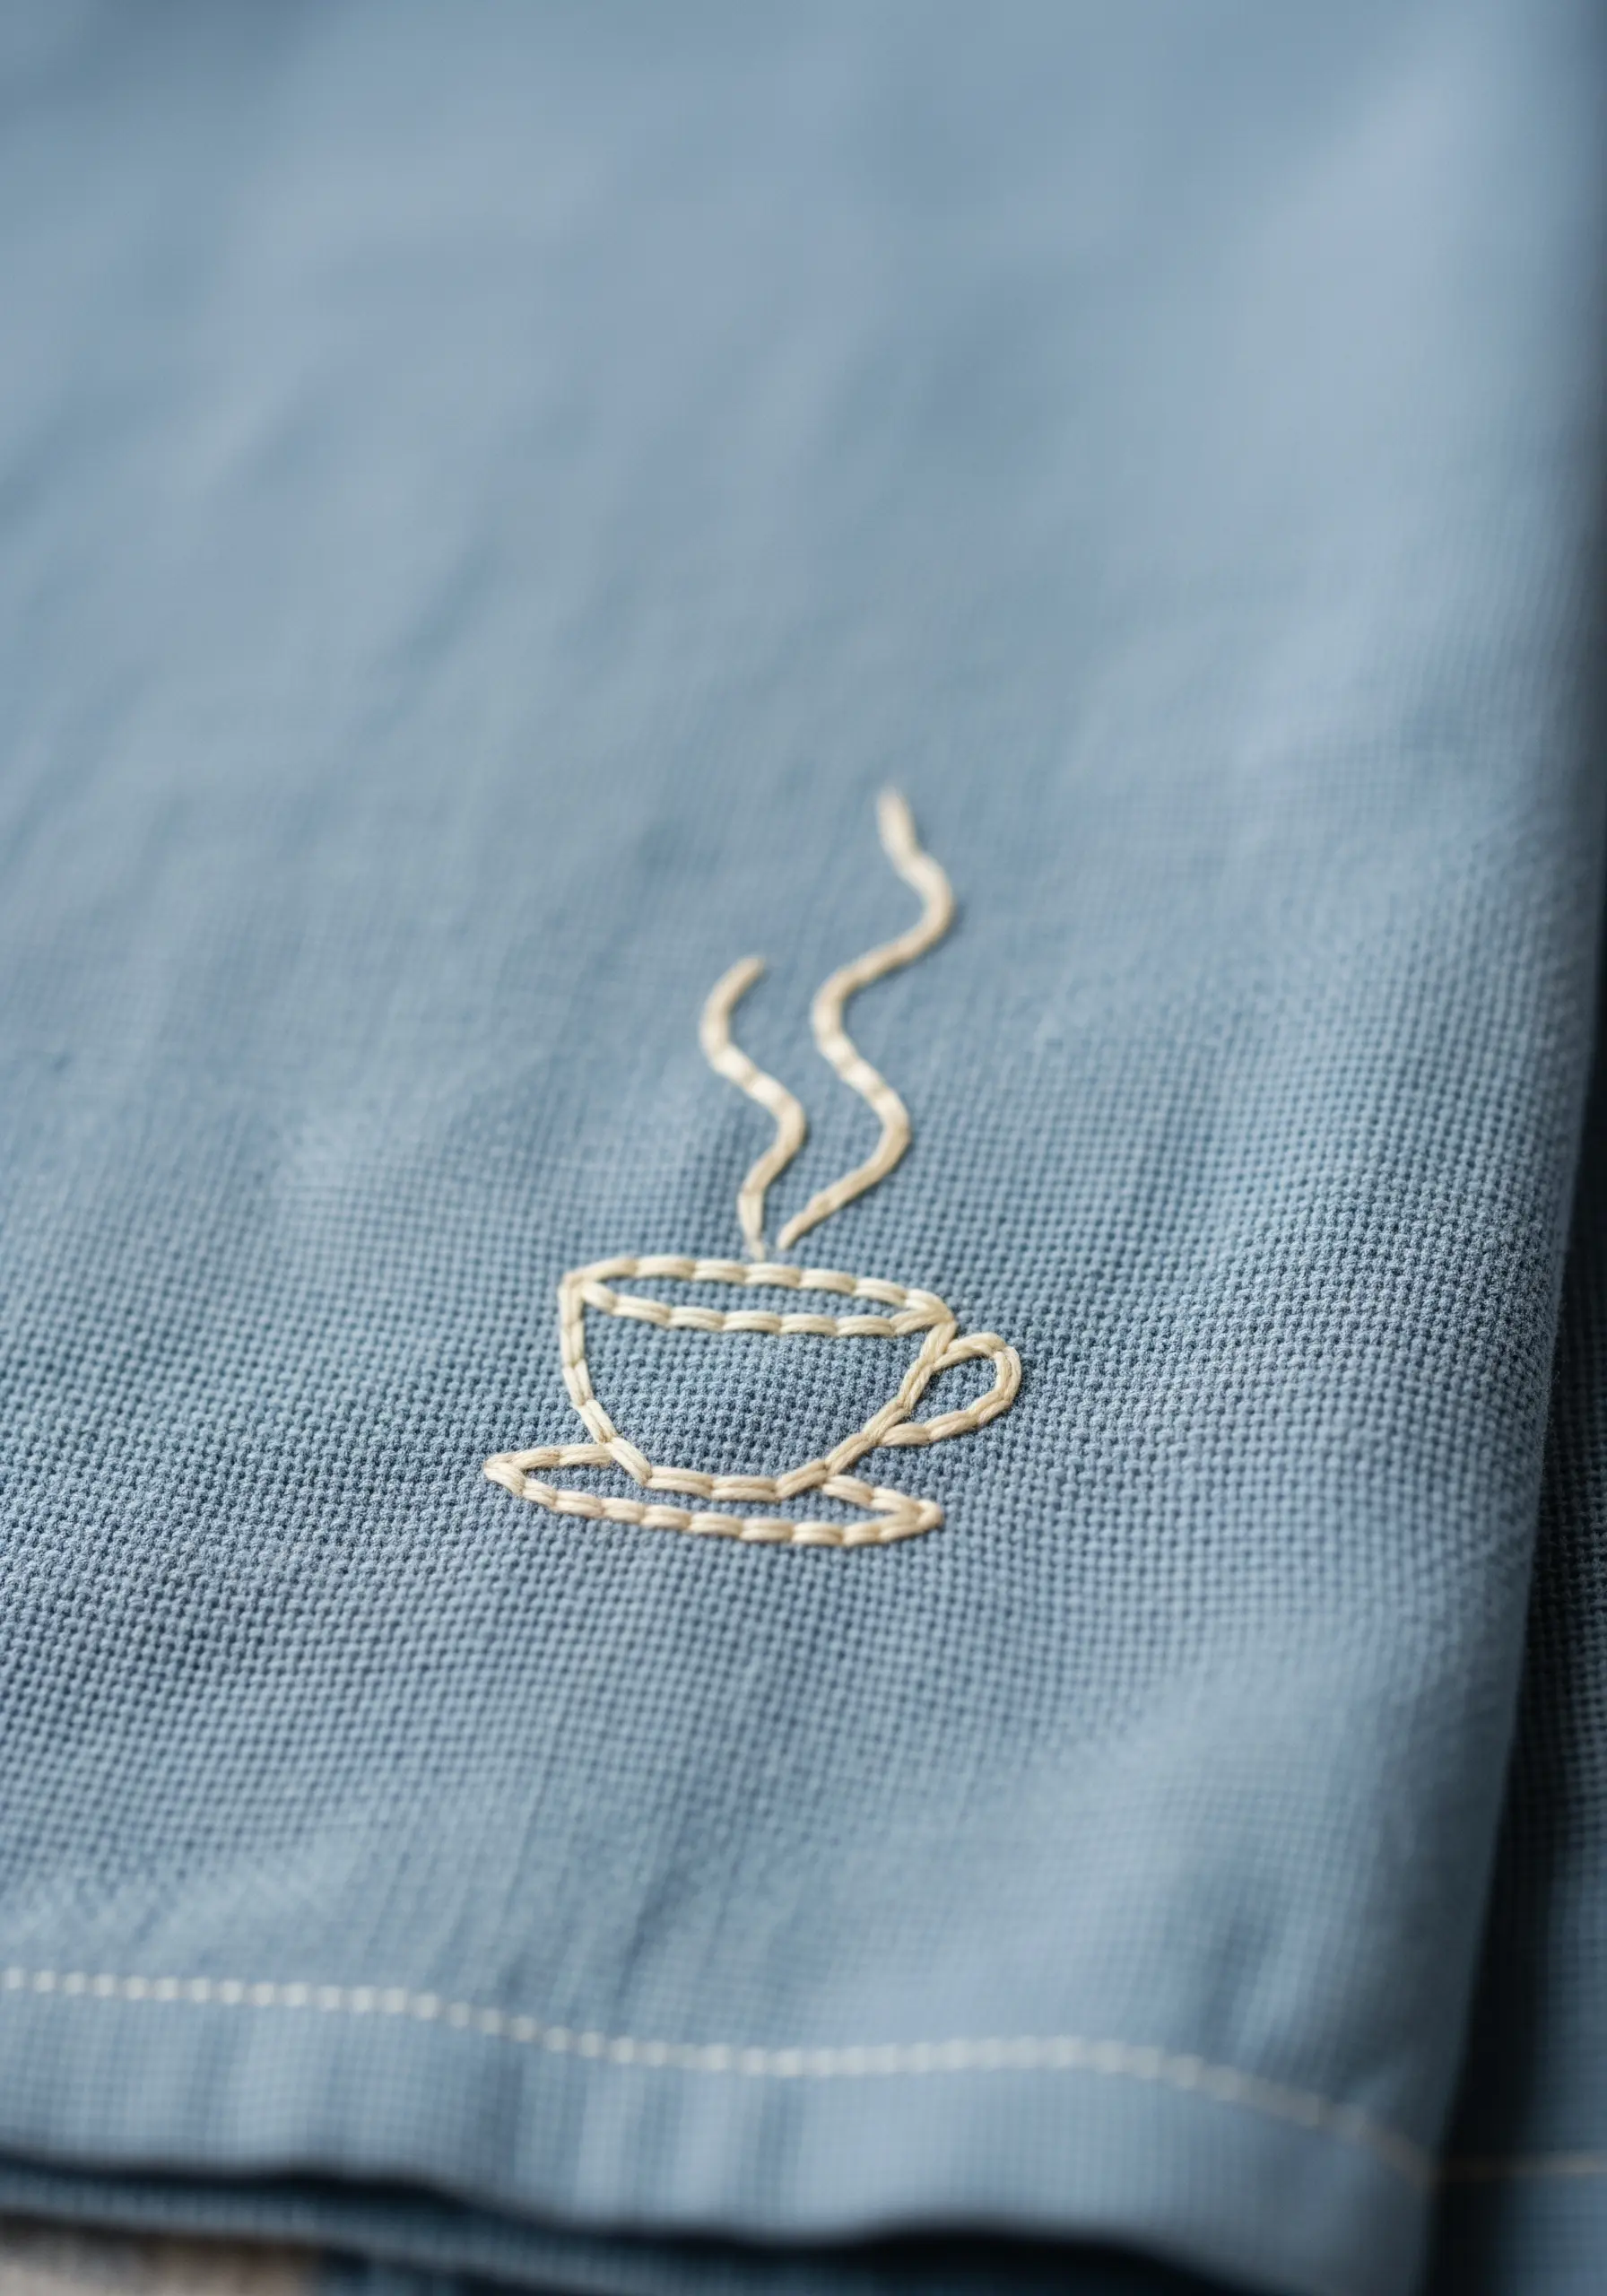
Sometimes, the simplest lines have the most impact.
Capture the essence of a steaming cup with a delicate, continuous backstitch using only two strands of floss.
The key to this design’s charm is its hand-drawn quality. Don’t strive for perfect, rigid lines.
Allow the steam to curve organically and the cup to have a slightly sketchy feel. It’s this imperfection that makes the motif feel warm and inviting.
9. Stitch Delicate Florals on Textured Towels
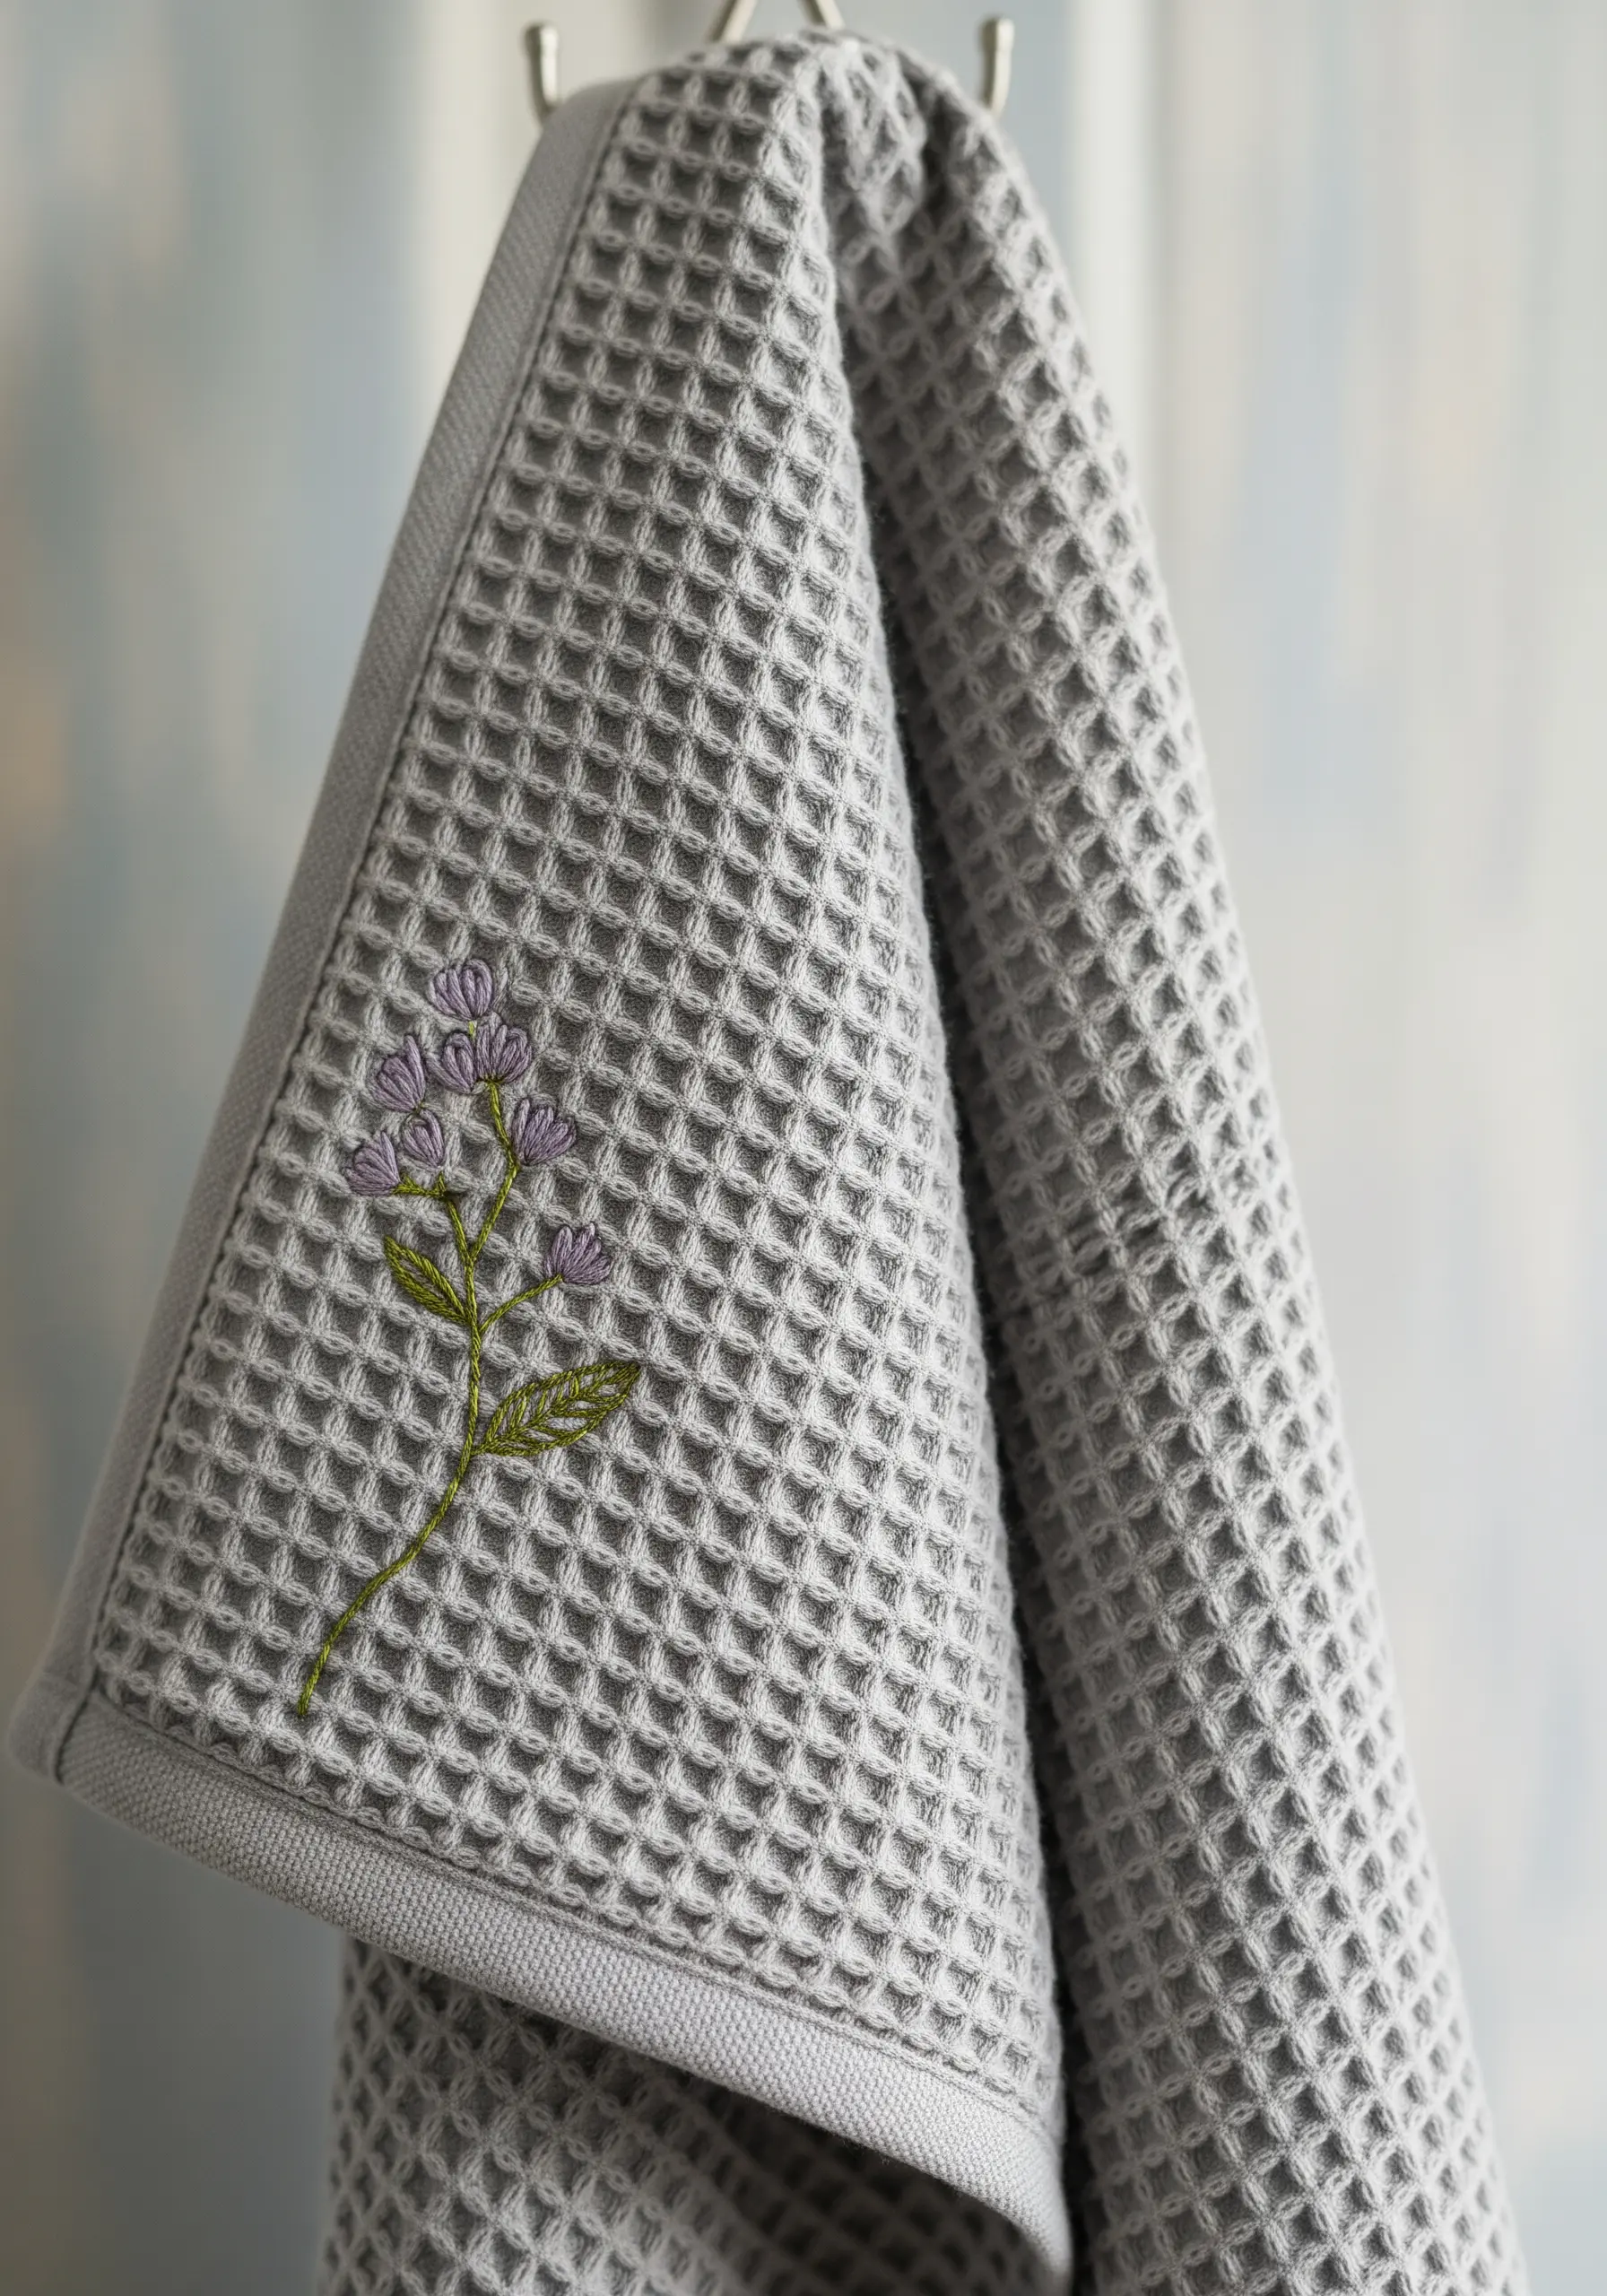
When stitching delicate florals on a fabric with a deep texture like waffle weave, choose stitches that sit on top of the surface.
Use French knots for the flower buds, as they create raised, dimensional dots that won’t get lost in the fabric’s grid.
A simple stem stitch for the stalk and detached chain stitches for the leaves complete the motif without competing with the towel’s texture.
This approach ensures your delicate design remains visible and defined.
10. Craft a Glossy Shine on Cherries
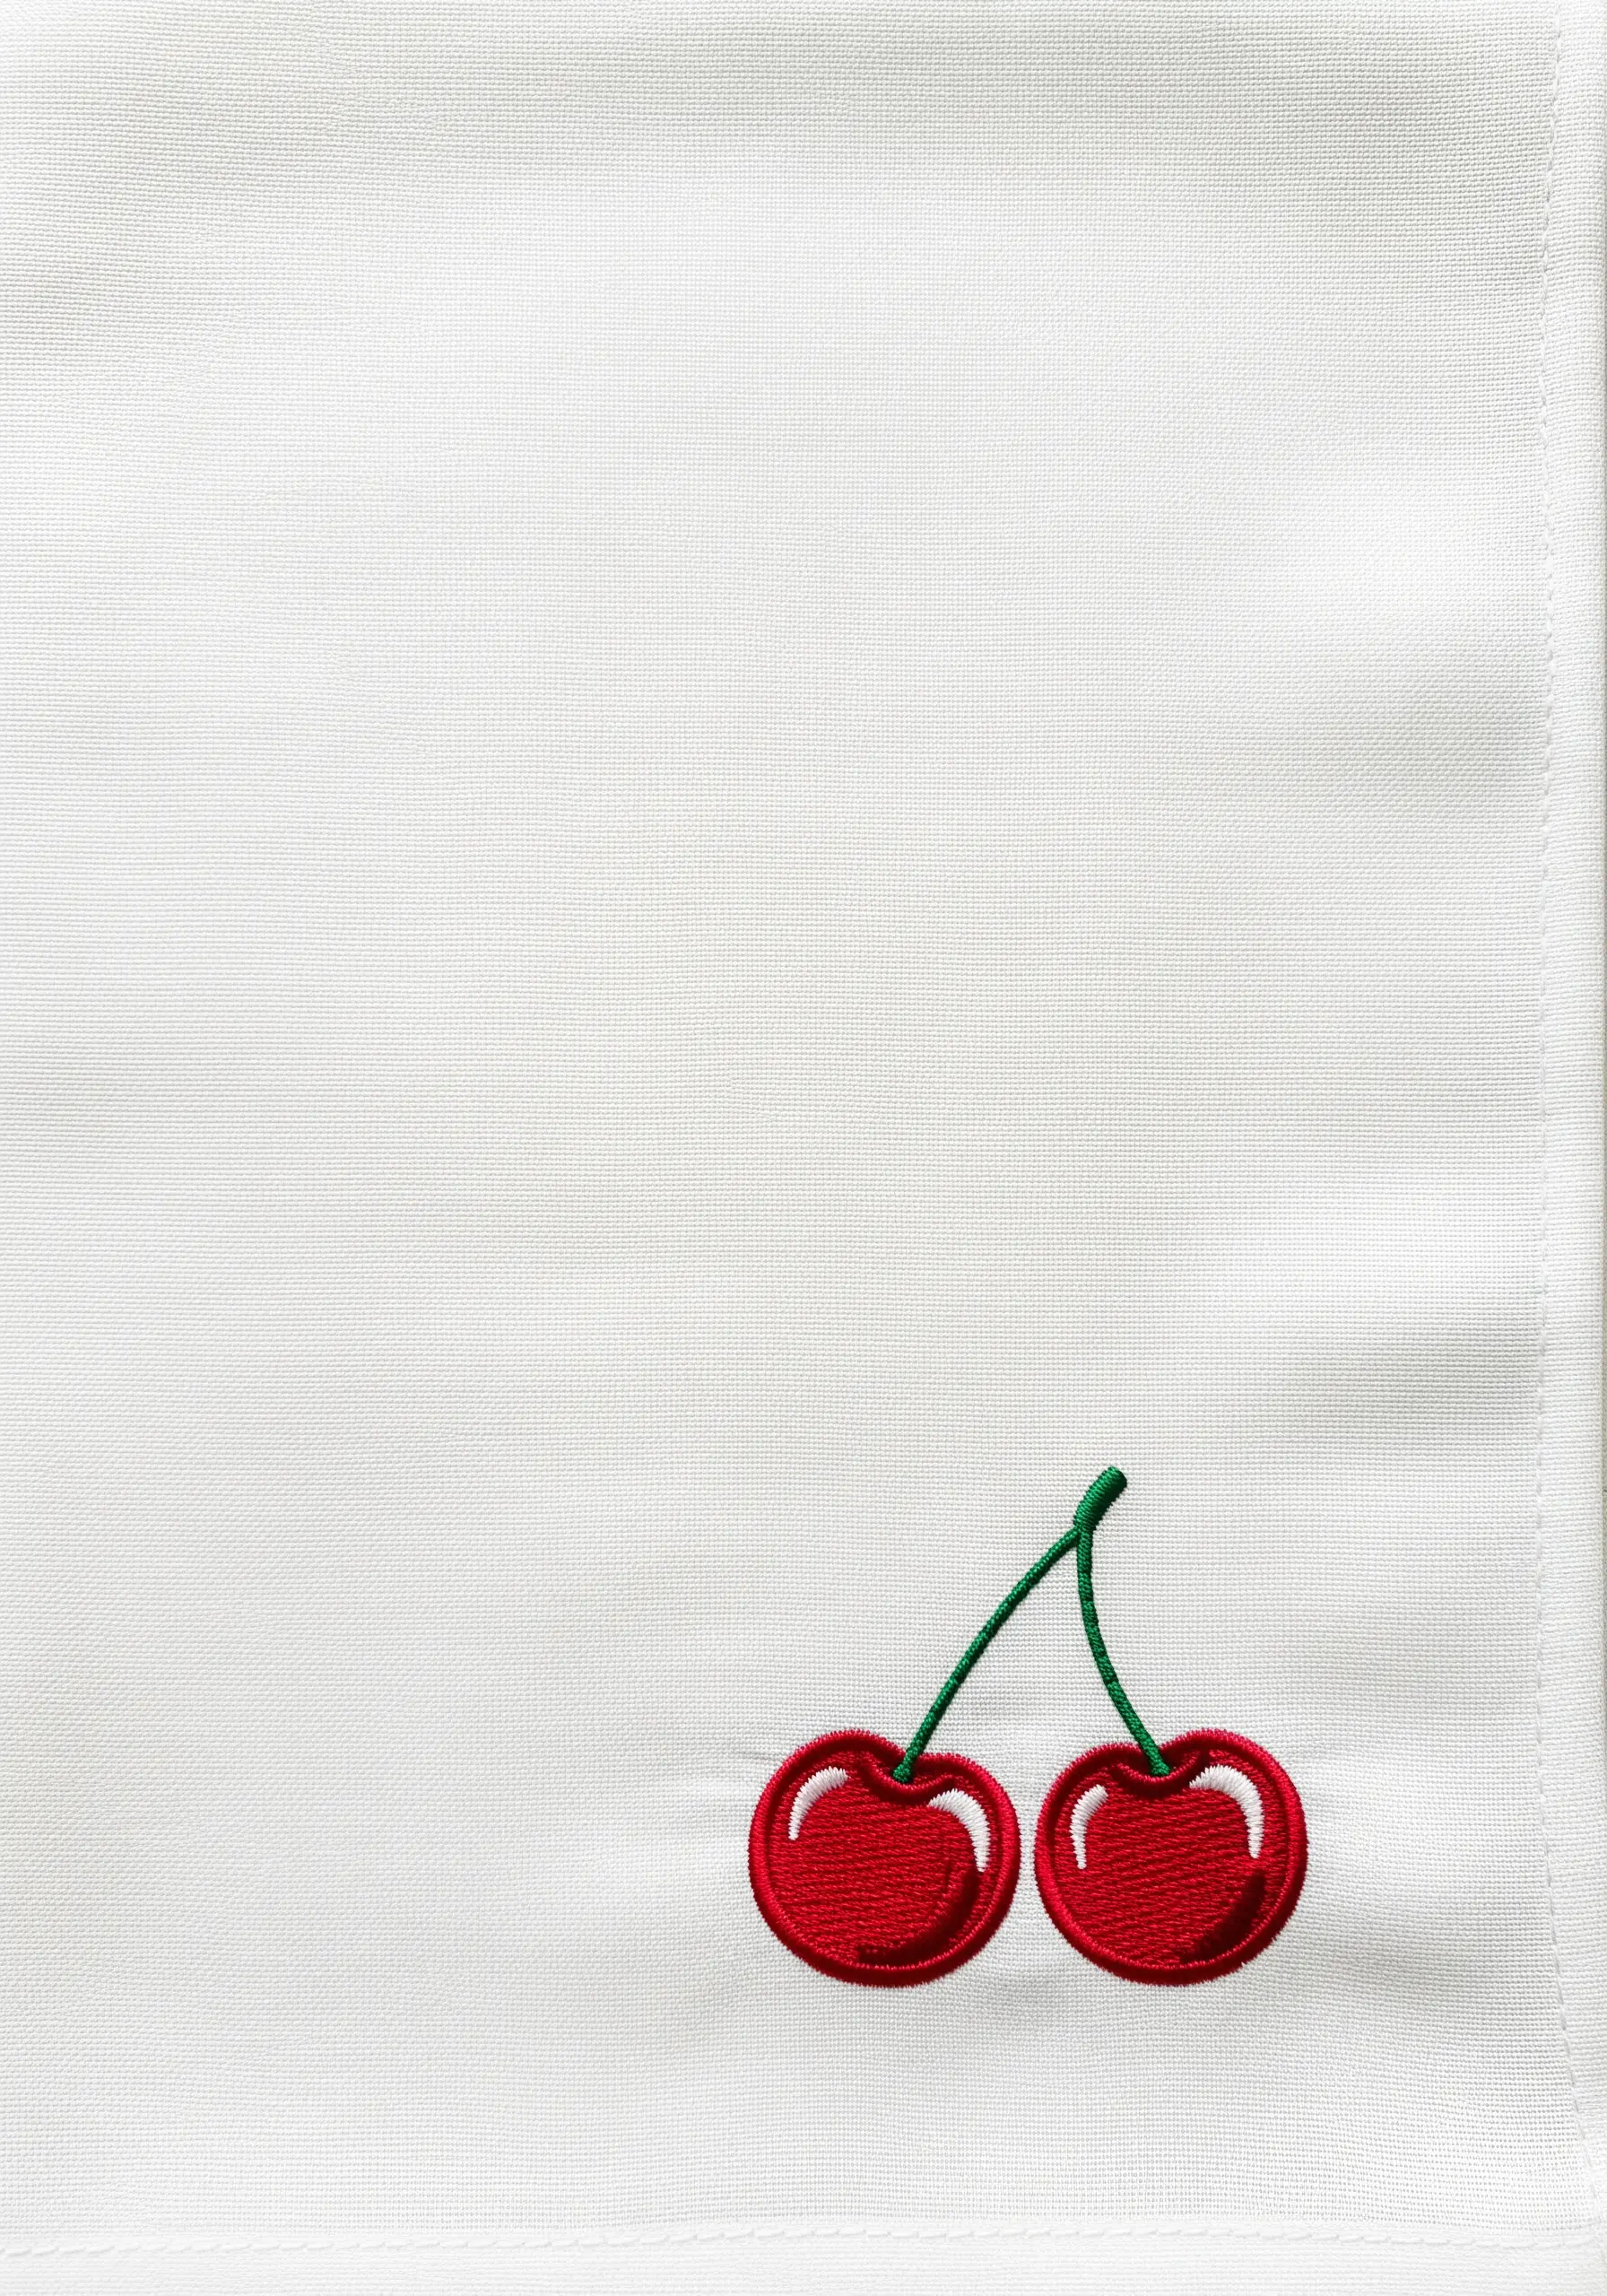
The secret to making these cherries look shiny and three-dimensional is the carefully placed satin stitch highlight.
Fill the main body of each cherry with a deep red satin stitch, angling the stitches to follow the fruit’s curve.
Then, using a single strand of white floss, add a small, curved crescent of satin stitches on the upper edge of each cherry.
This simple detail instantly creates the illusion of reflected light, elevating the entire design.
11. Layer Stitches for a Realistic Avocado
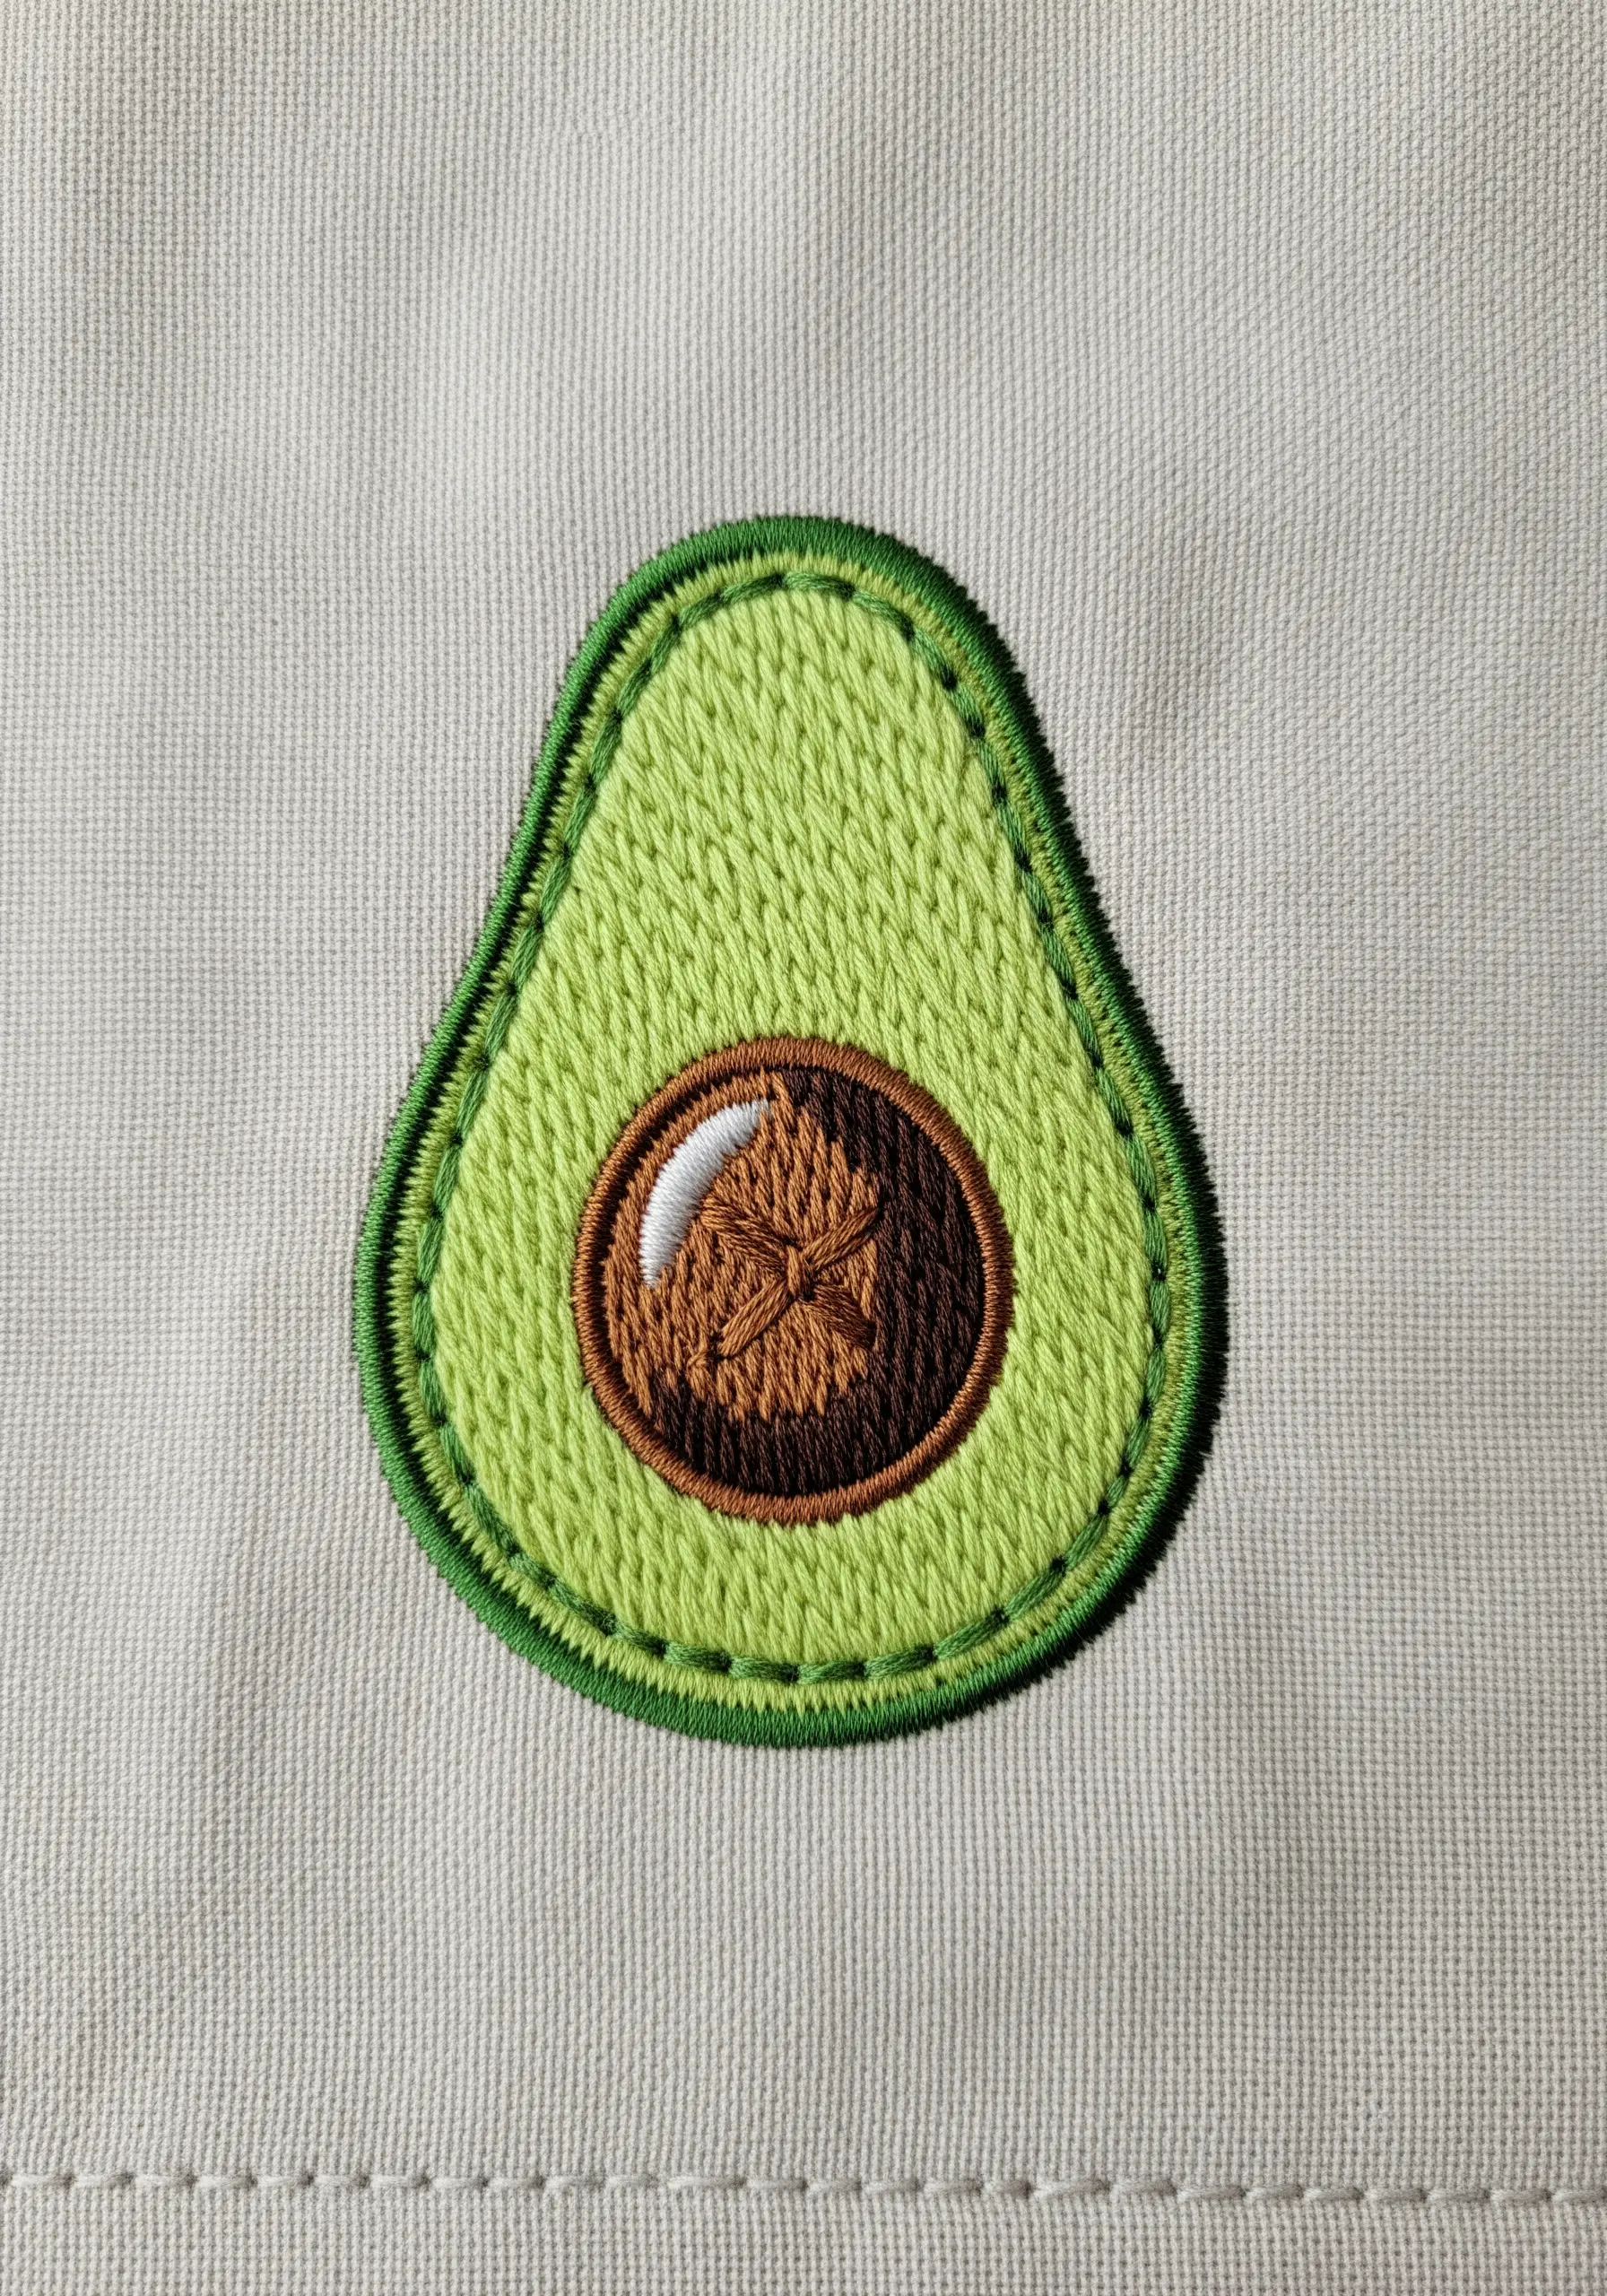
Create a convincing avocado by focusing on layered textures and colors.
Fill the light green flesh with a vertical satin stitch. For the pit, use several shades of brown and stitch in multiple directions to create a woody, uneven texture.
A single white stitch provides a necessary highlight.
Finally, outline the entire shape twice: first with a light green split stitch, then with a darker green one just outside it. This double outline adds depth and a clean, graphic finish.
12. Make Motifs Pop on Gingham Fabric
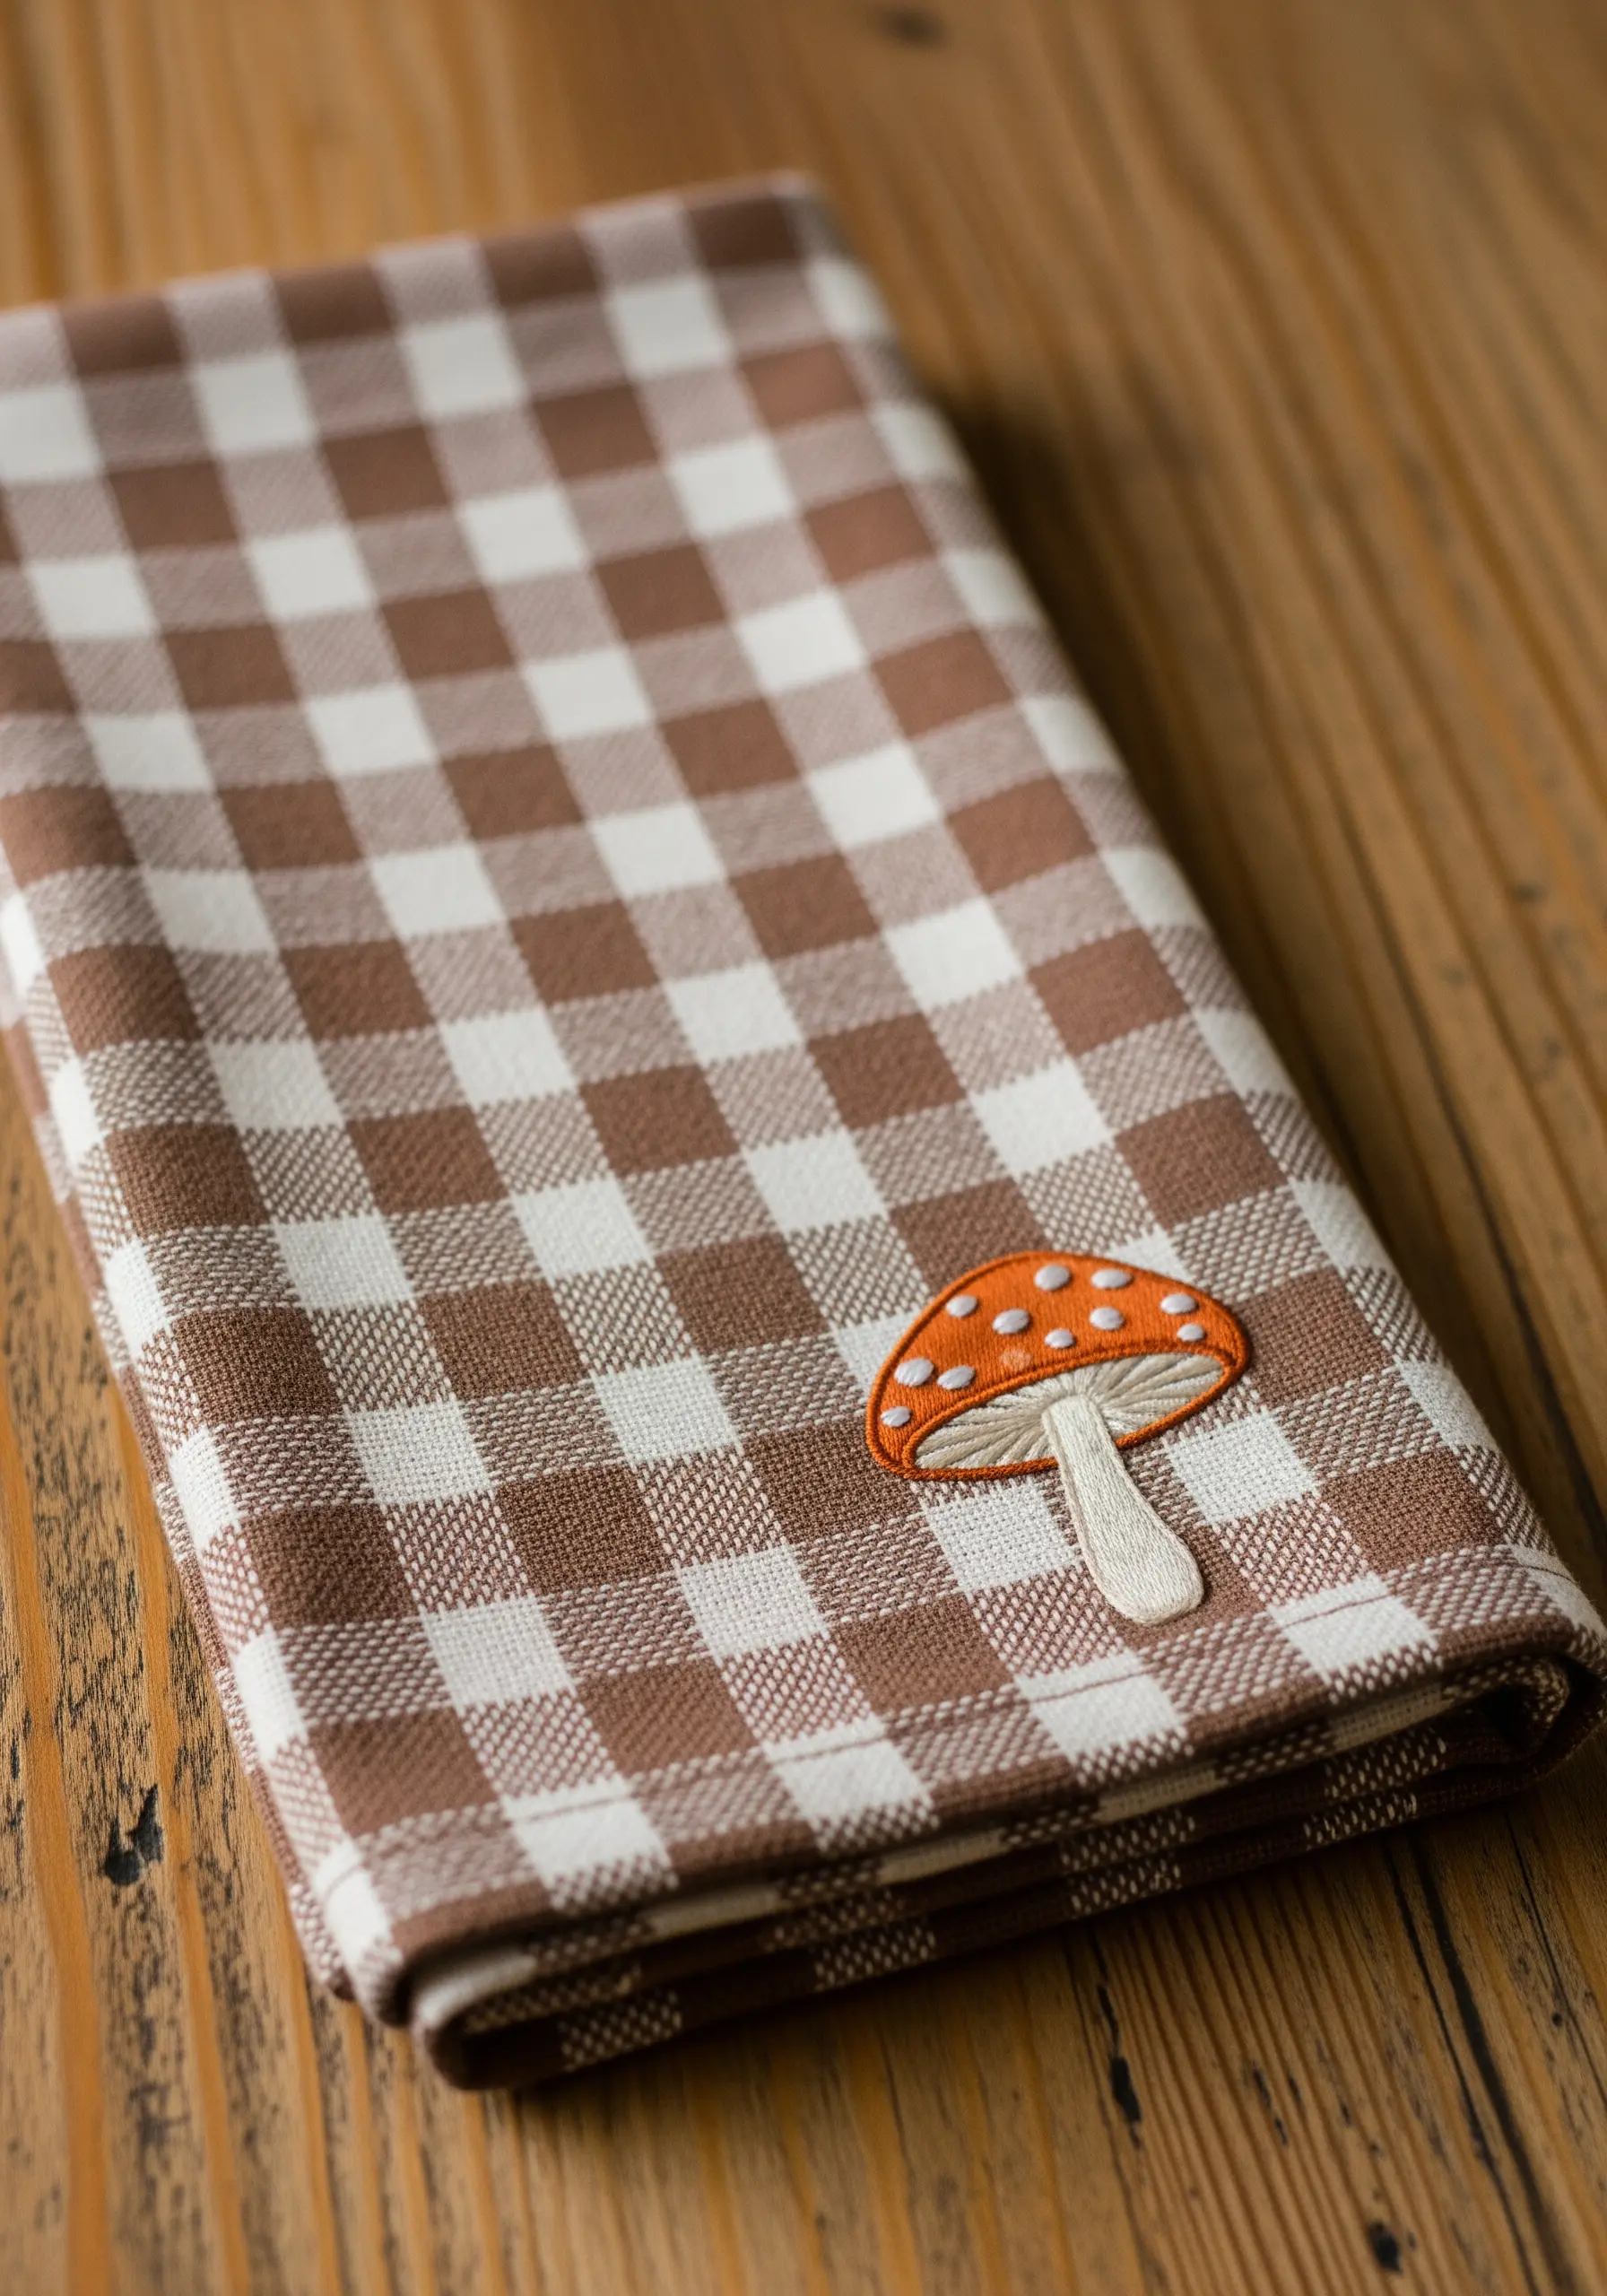
Embroidering on a patterned fabric like gingham can be a beautiful way to add charm, but your design needs to stand out.
Choose bold, contrasting colors for your motif, like this bright orange mushroom cap against the brown and white check.
Use a dense satin stitch for the fill to ensure full coverage over the pattern.
Adding a crisp white outline and French knot details helps to visually lift the design from the busy background.
13. Define Line Art with a Whipped Backstitch
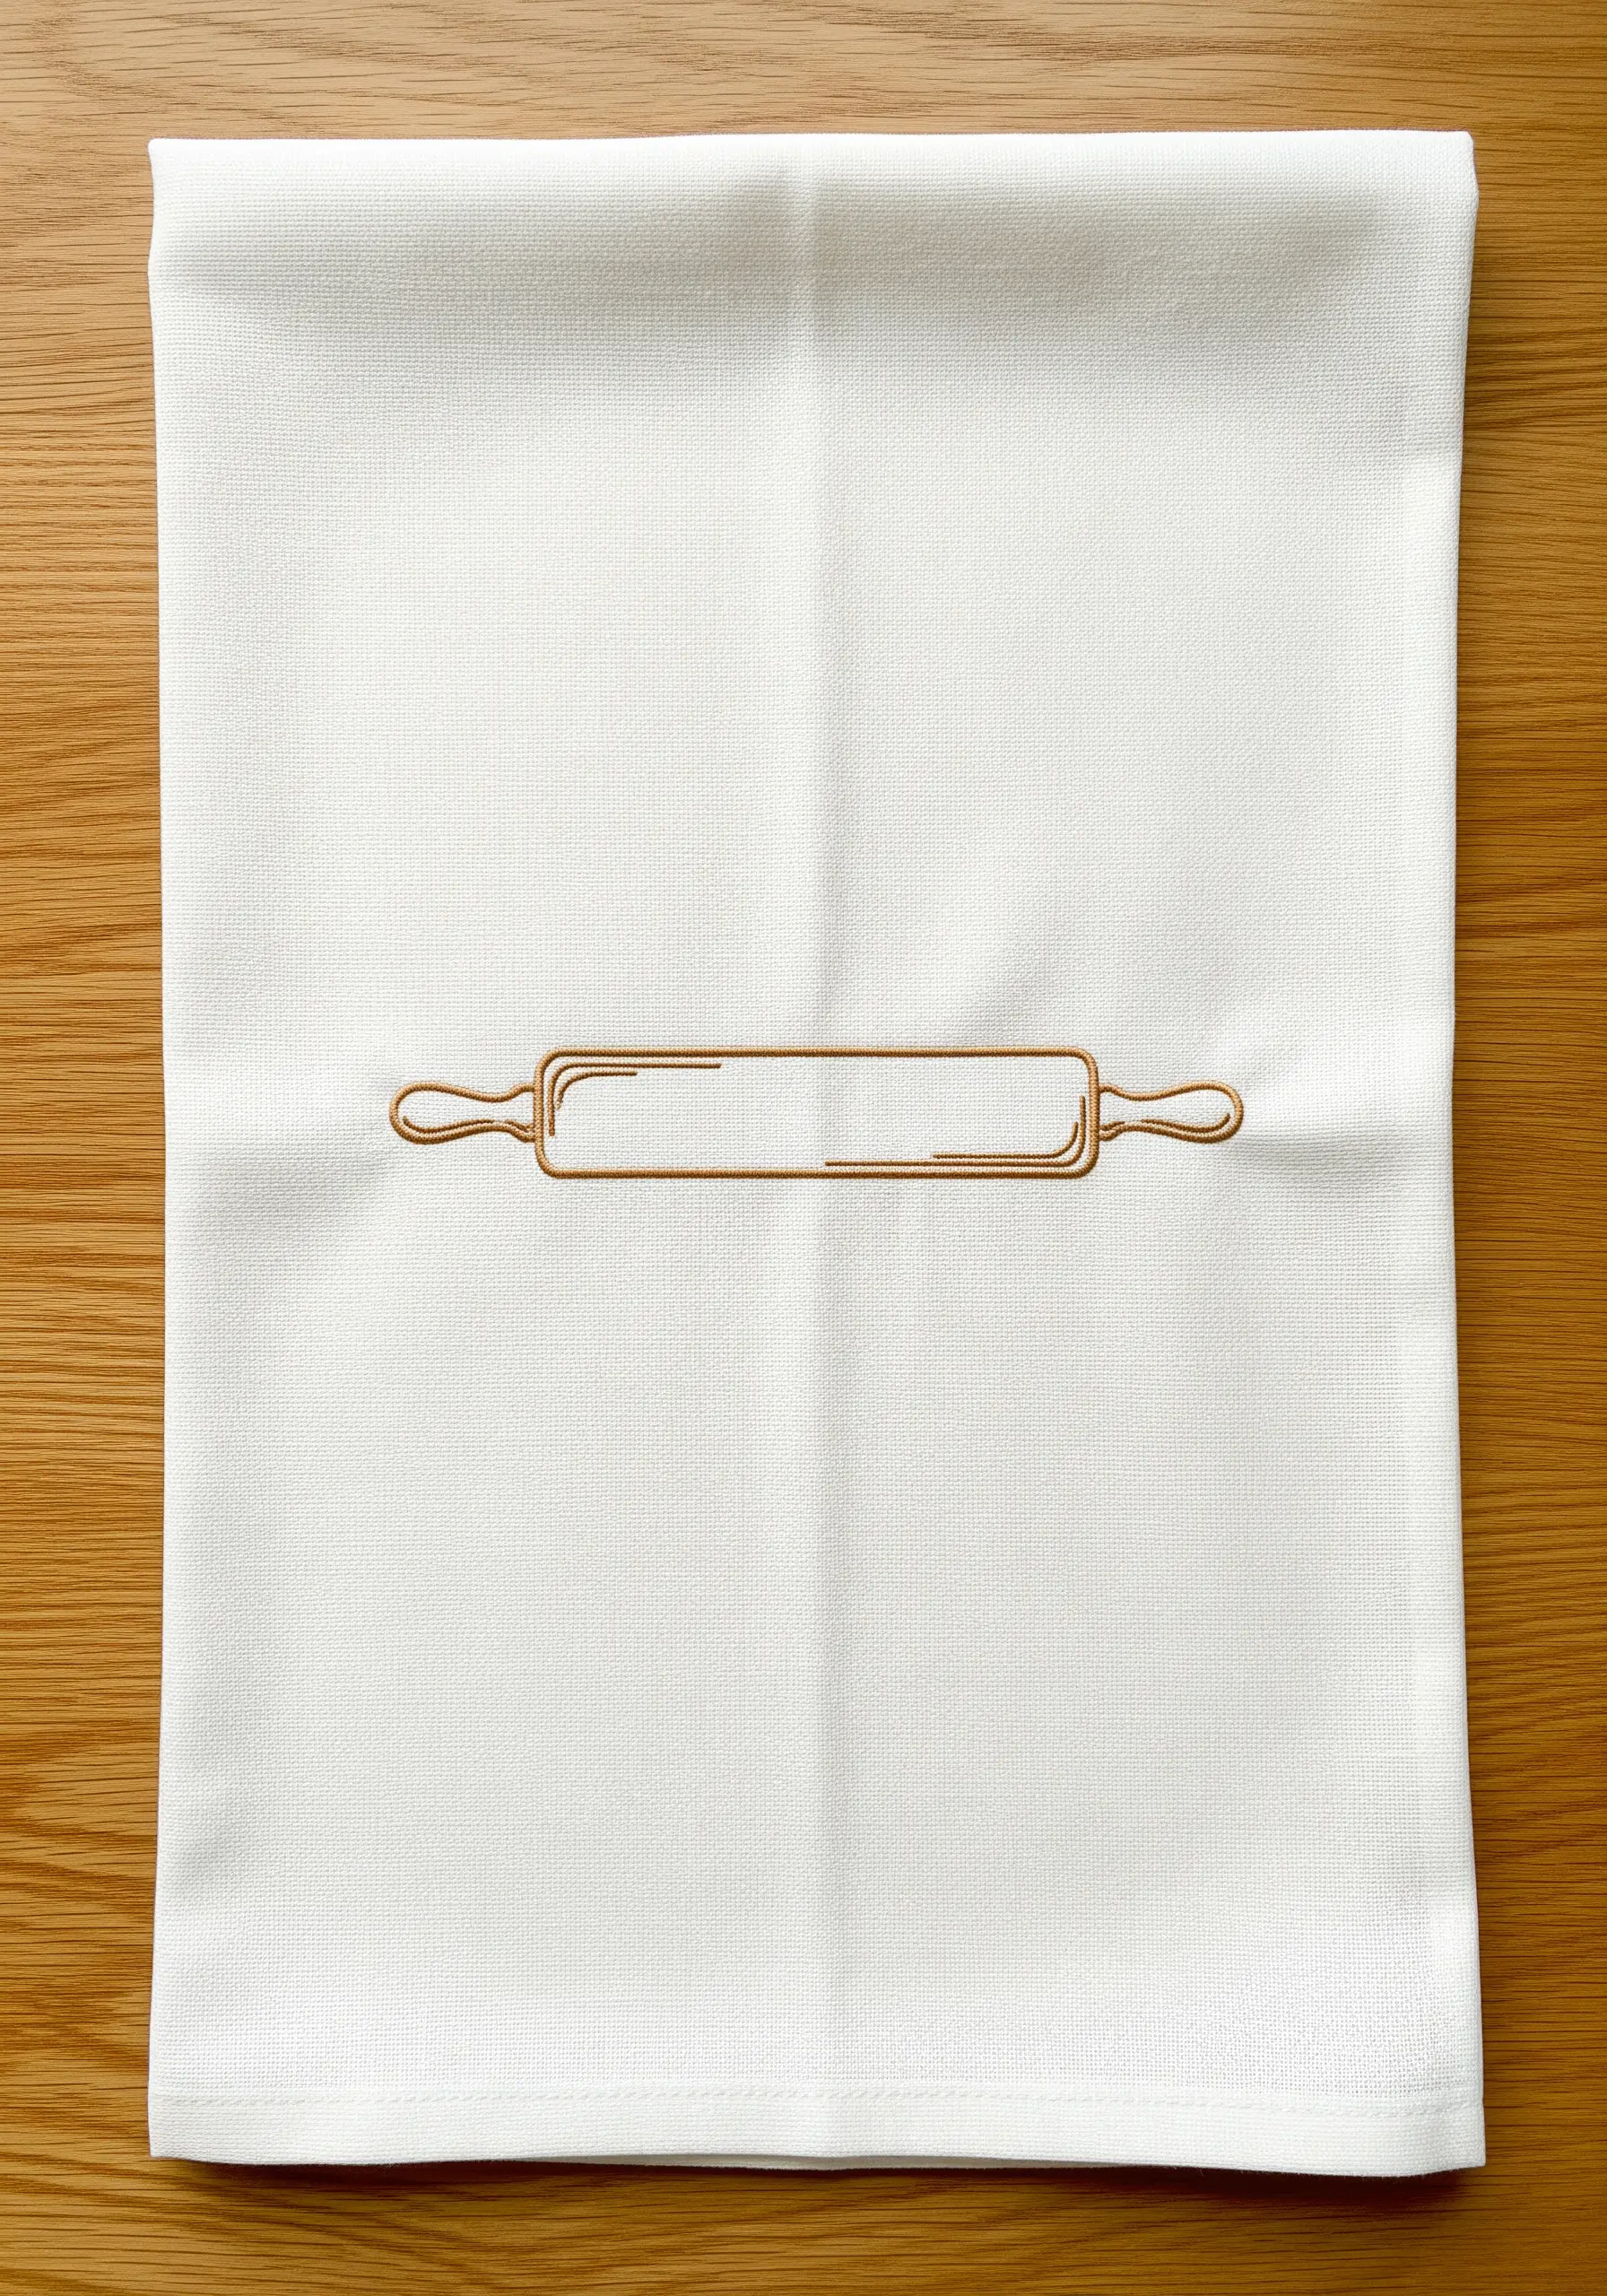
To elevate a simple outline from sketchy to refined, use a whipped backstitch.
First, create your entire rolling pin design using a standard backstitch.
Then, without piercing the fabric, take your threaded needle and whip it around each backstitch, creating a smooth, continuous, and slightly raised line.
This technique is perfect for kitchen utensils, giving them a solid, graphic quality that feels intentional and polished.
14. Build Texture with Varied French Knots
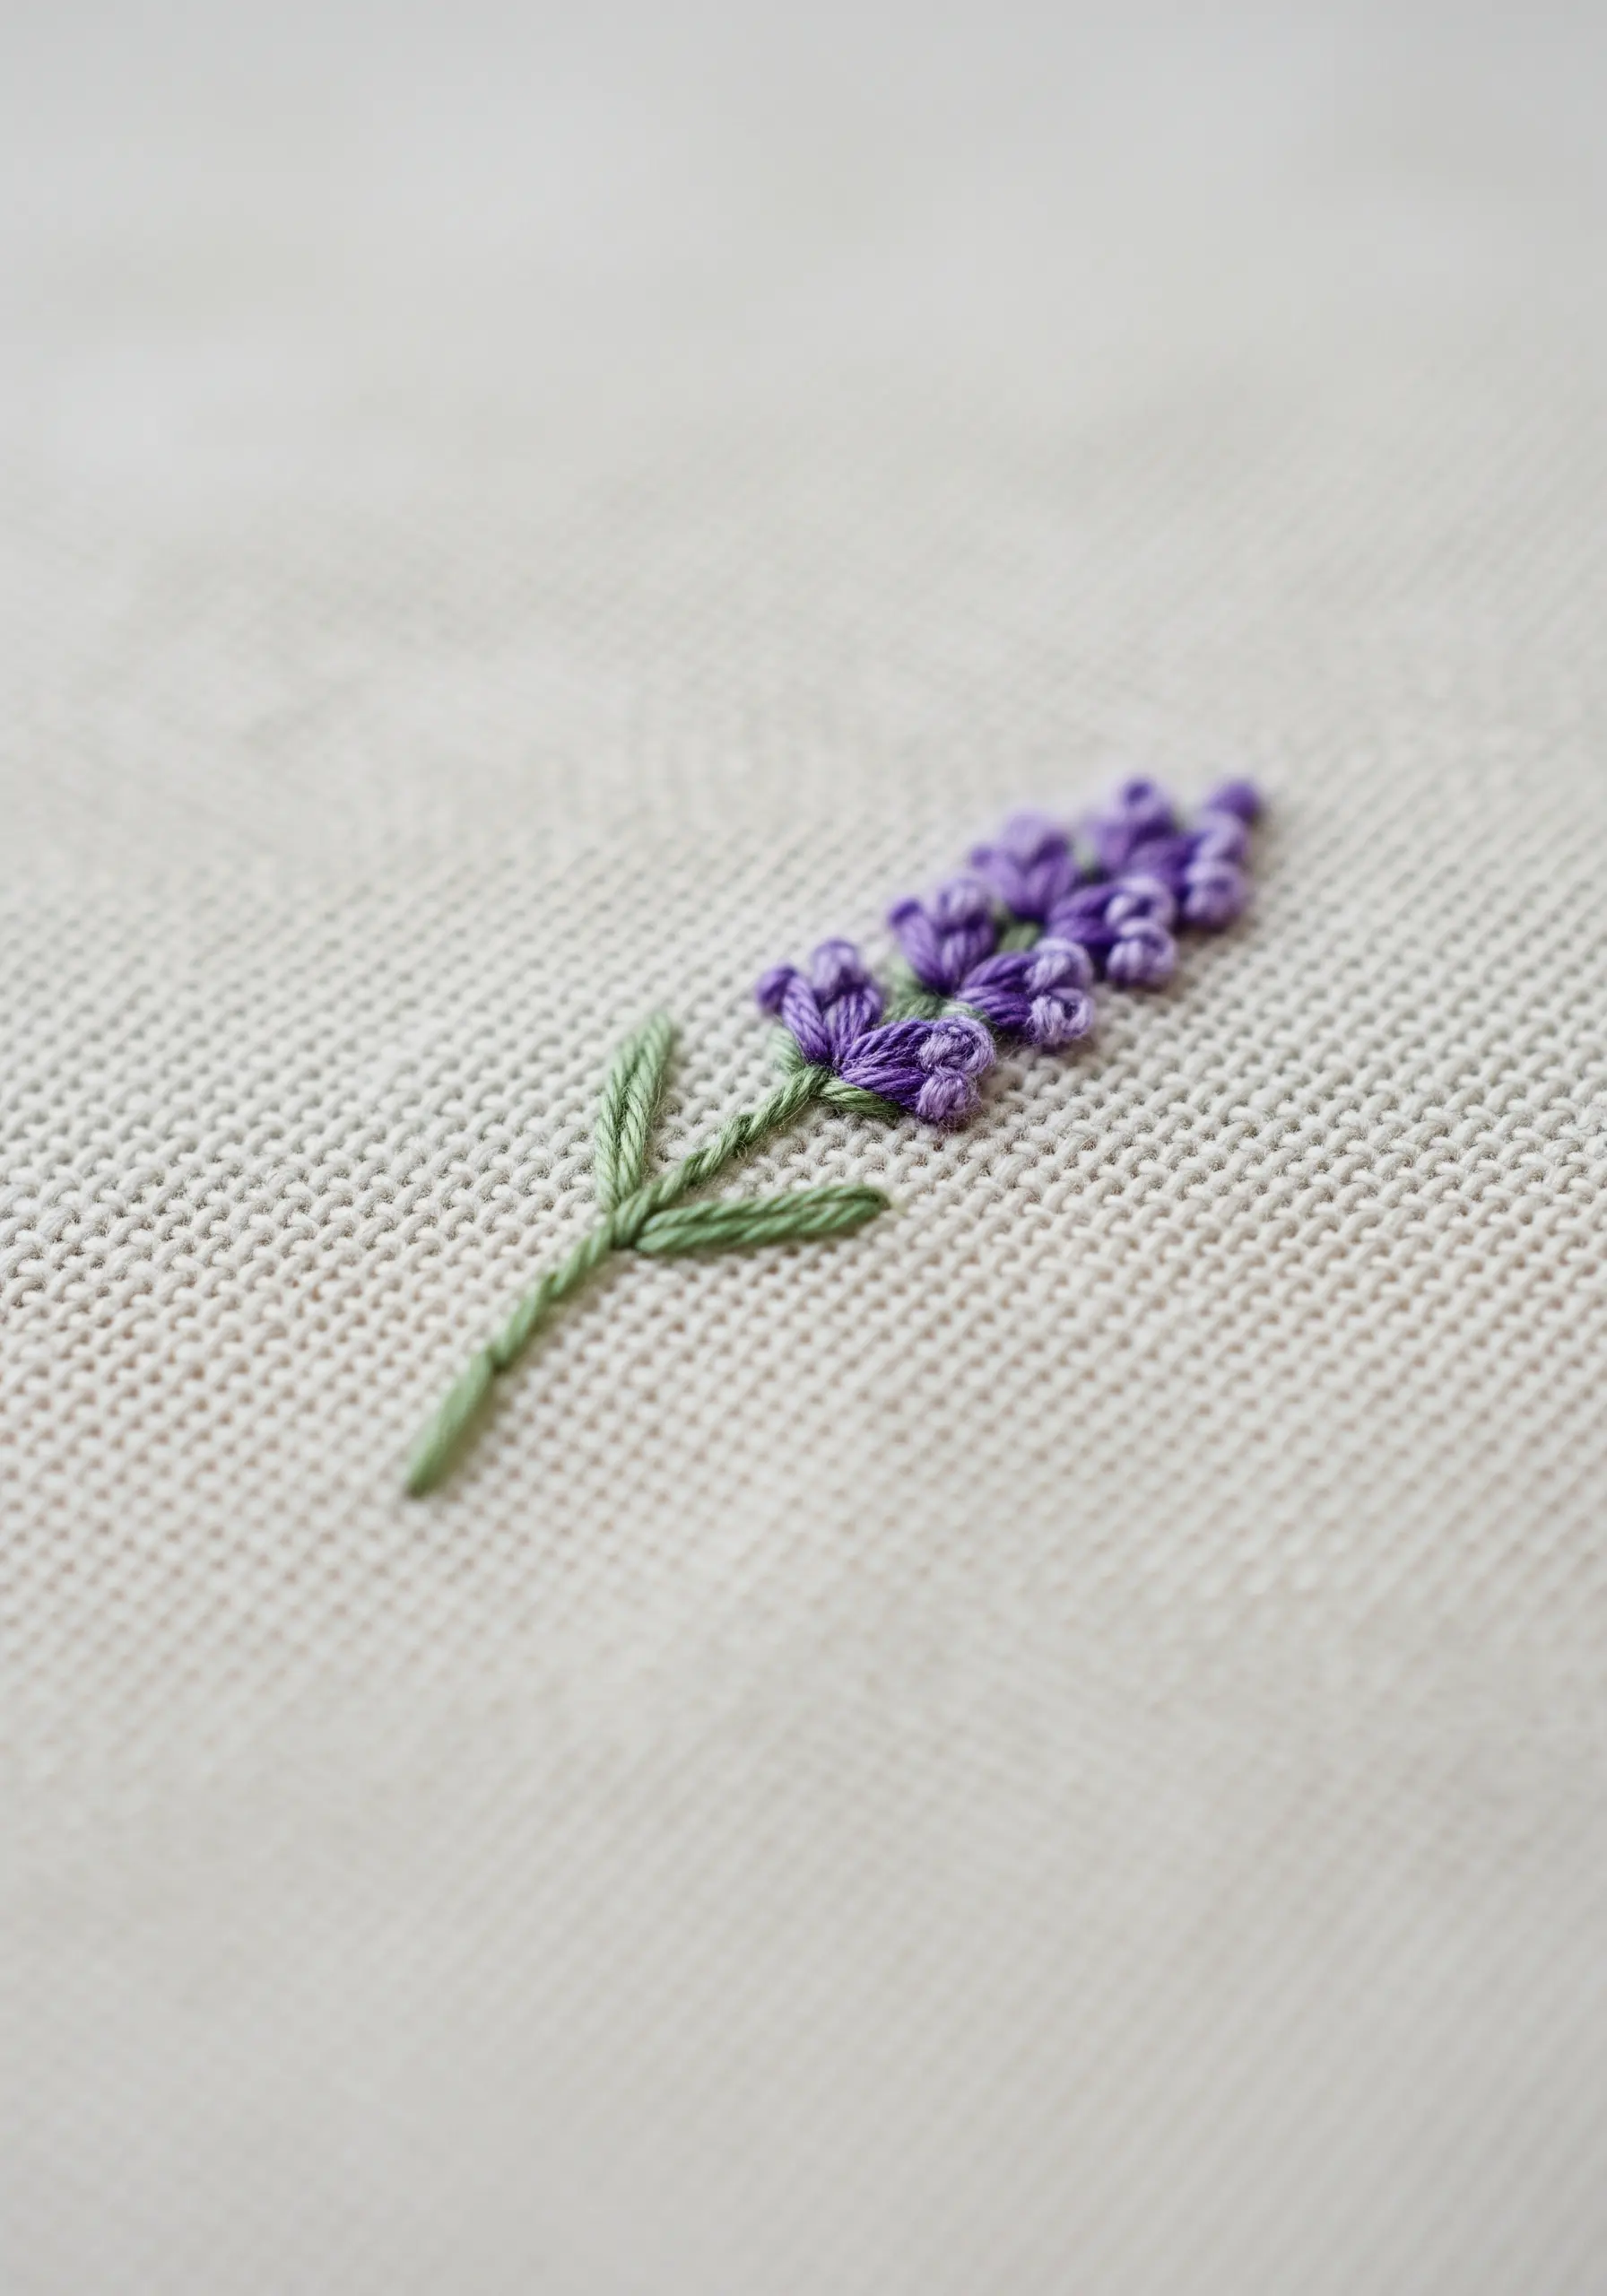
To create an organic, textural lavender sprig, play with the size of your French knots.
Instead of making every knot identical, vary the number of times you wrap the thread around the needle—once for small buds at the tip, twice or three times for fuller blooms at the base.
Cluster them closely together, allowing some to overlap slightly.
This simple variation gives the lavender a wonderfully natural and dimensional appearance, transforming it from a flat pattern into a tiny botanical sculpture.
15. Suggest Form with Stitch Direction
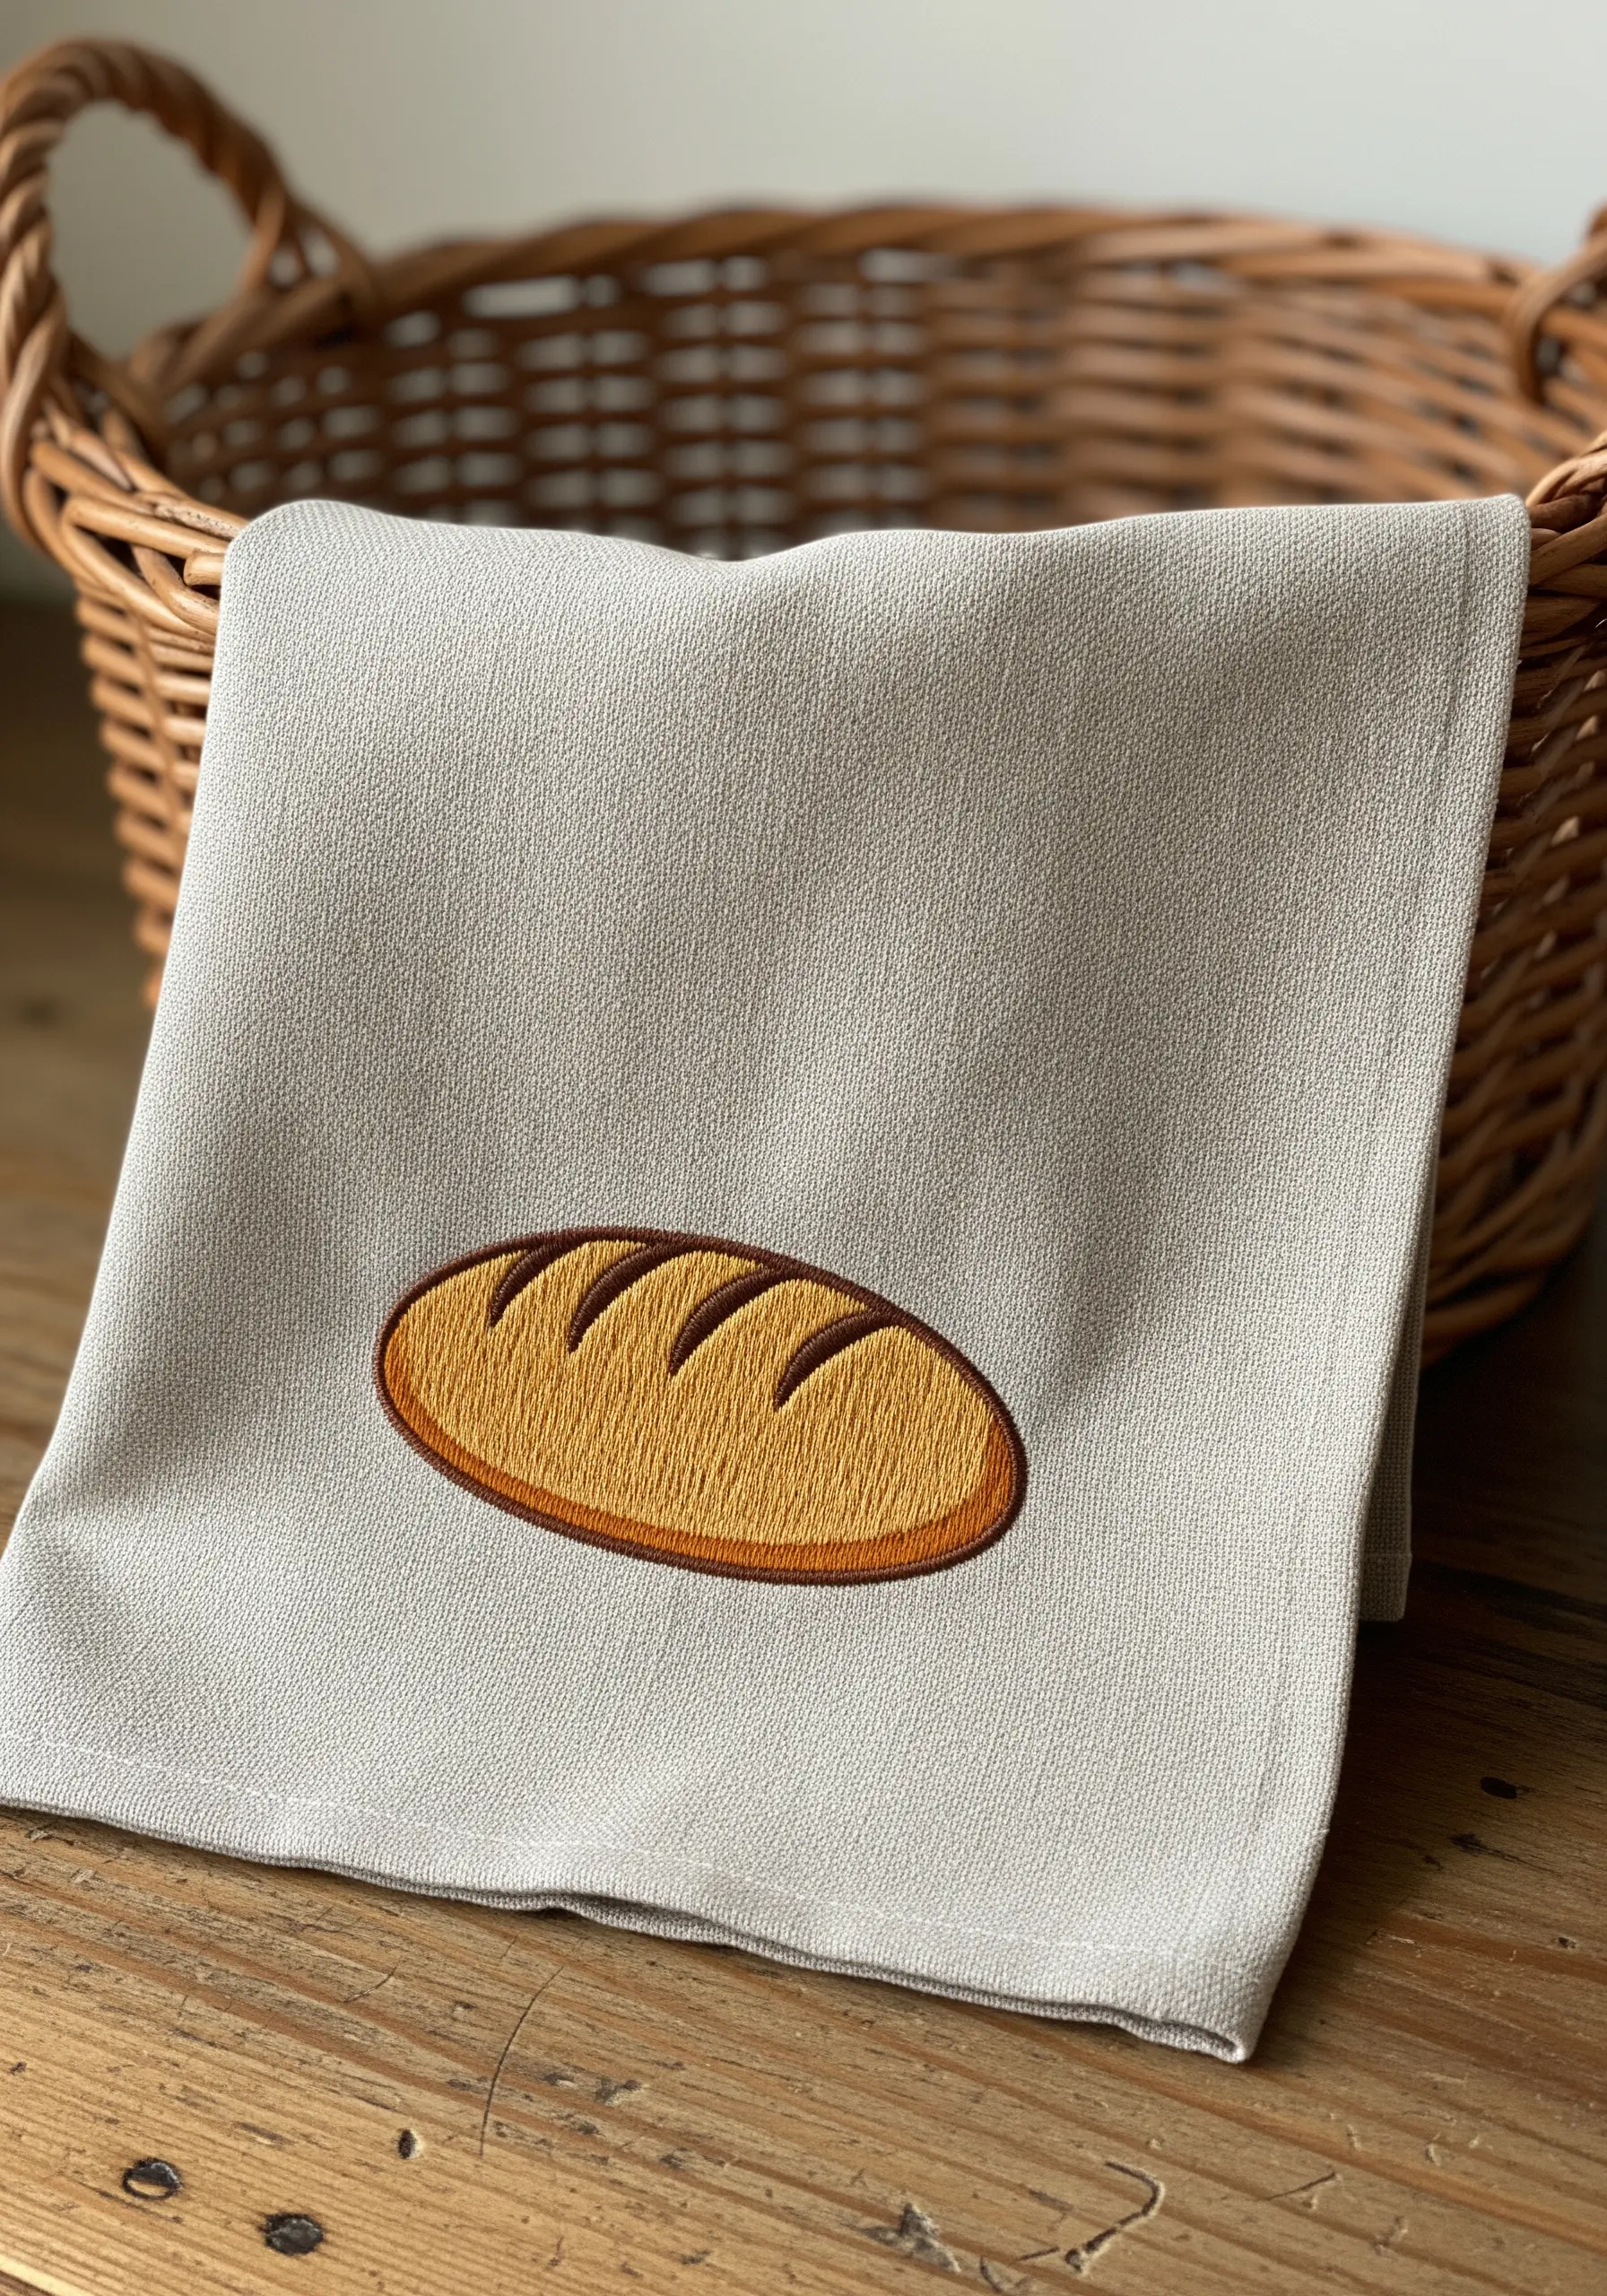
For this simple loaf of bread, the direction of the satin stitch does all the work.
Angle your stitches to follow the curve of the loaf, which immediately creates a sense of roundedness and volume.
A few strategically placed backstitches in a darker brown suggest the slashes on the crust without requiring complex shading.
This is a perfect example of how technique, not just color, creates form in embroidery.
16. Create Lifelike Leaves with Fishbone Stitch
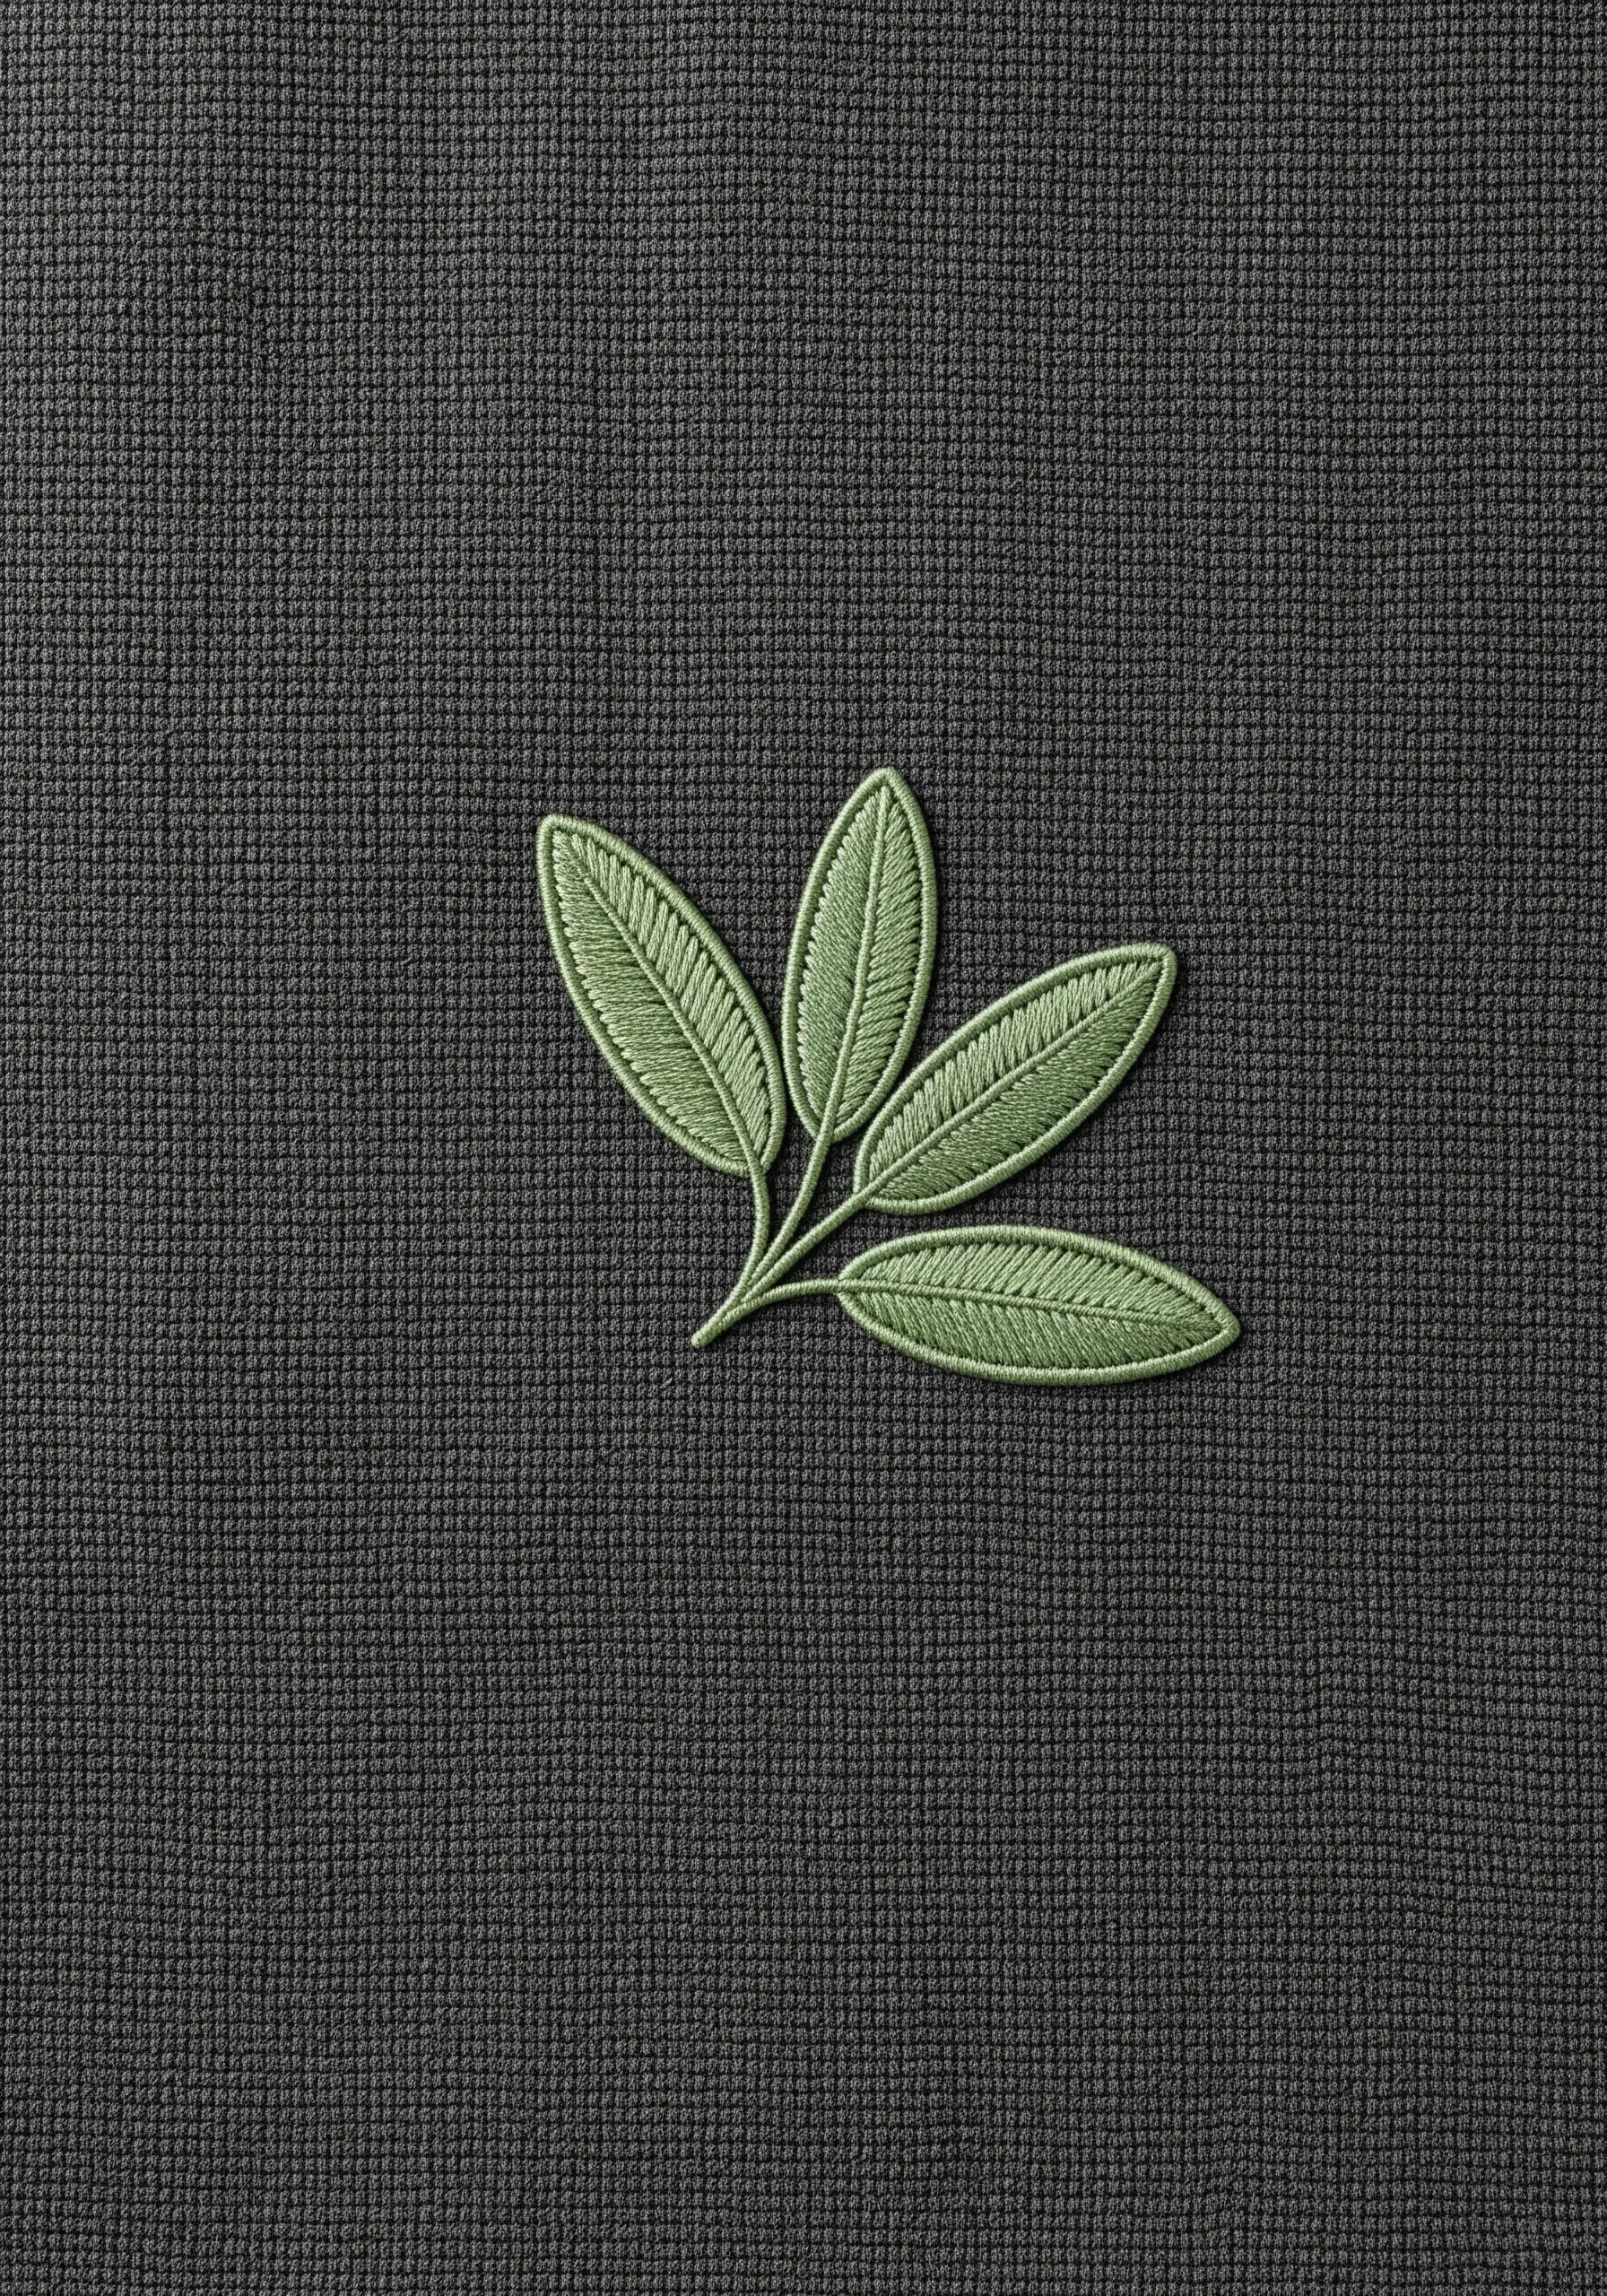
The fishbone stitch is your best choice for creating realistic leaves with a single, continuous motion.
The stitch creates a central vein down the middle of the leaf while the angled side stitches fill the shape perfectly.
For a subtle, elegant look, use two closely related shades of green—one for the outline and another for the fill.
This subtle tonal variation adds depth without being distracting, making the leaves feel delicate and natural.
17. Stabilize Outlines on Terrycloth Towels
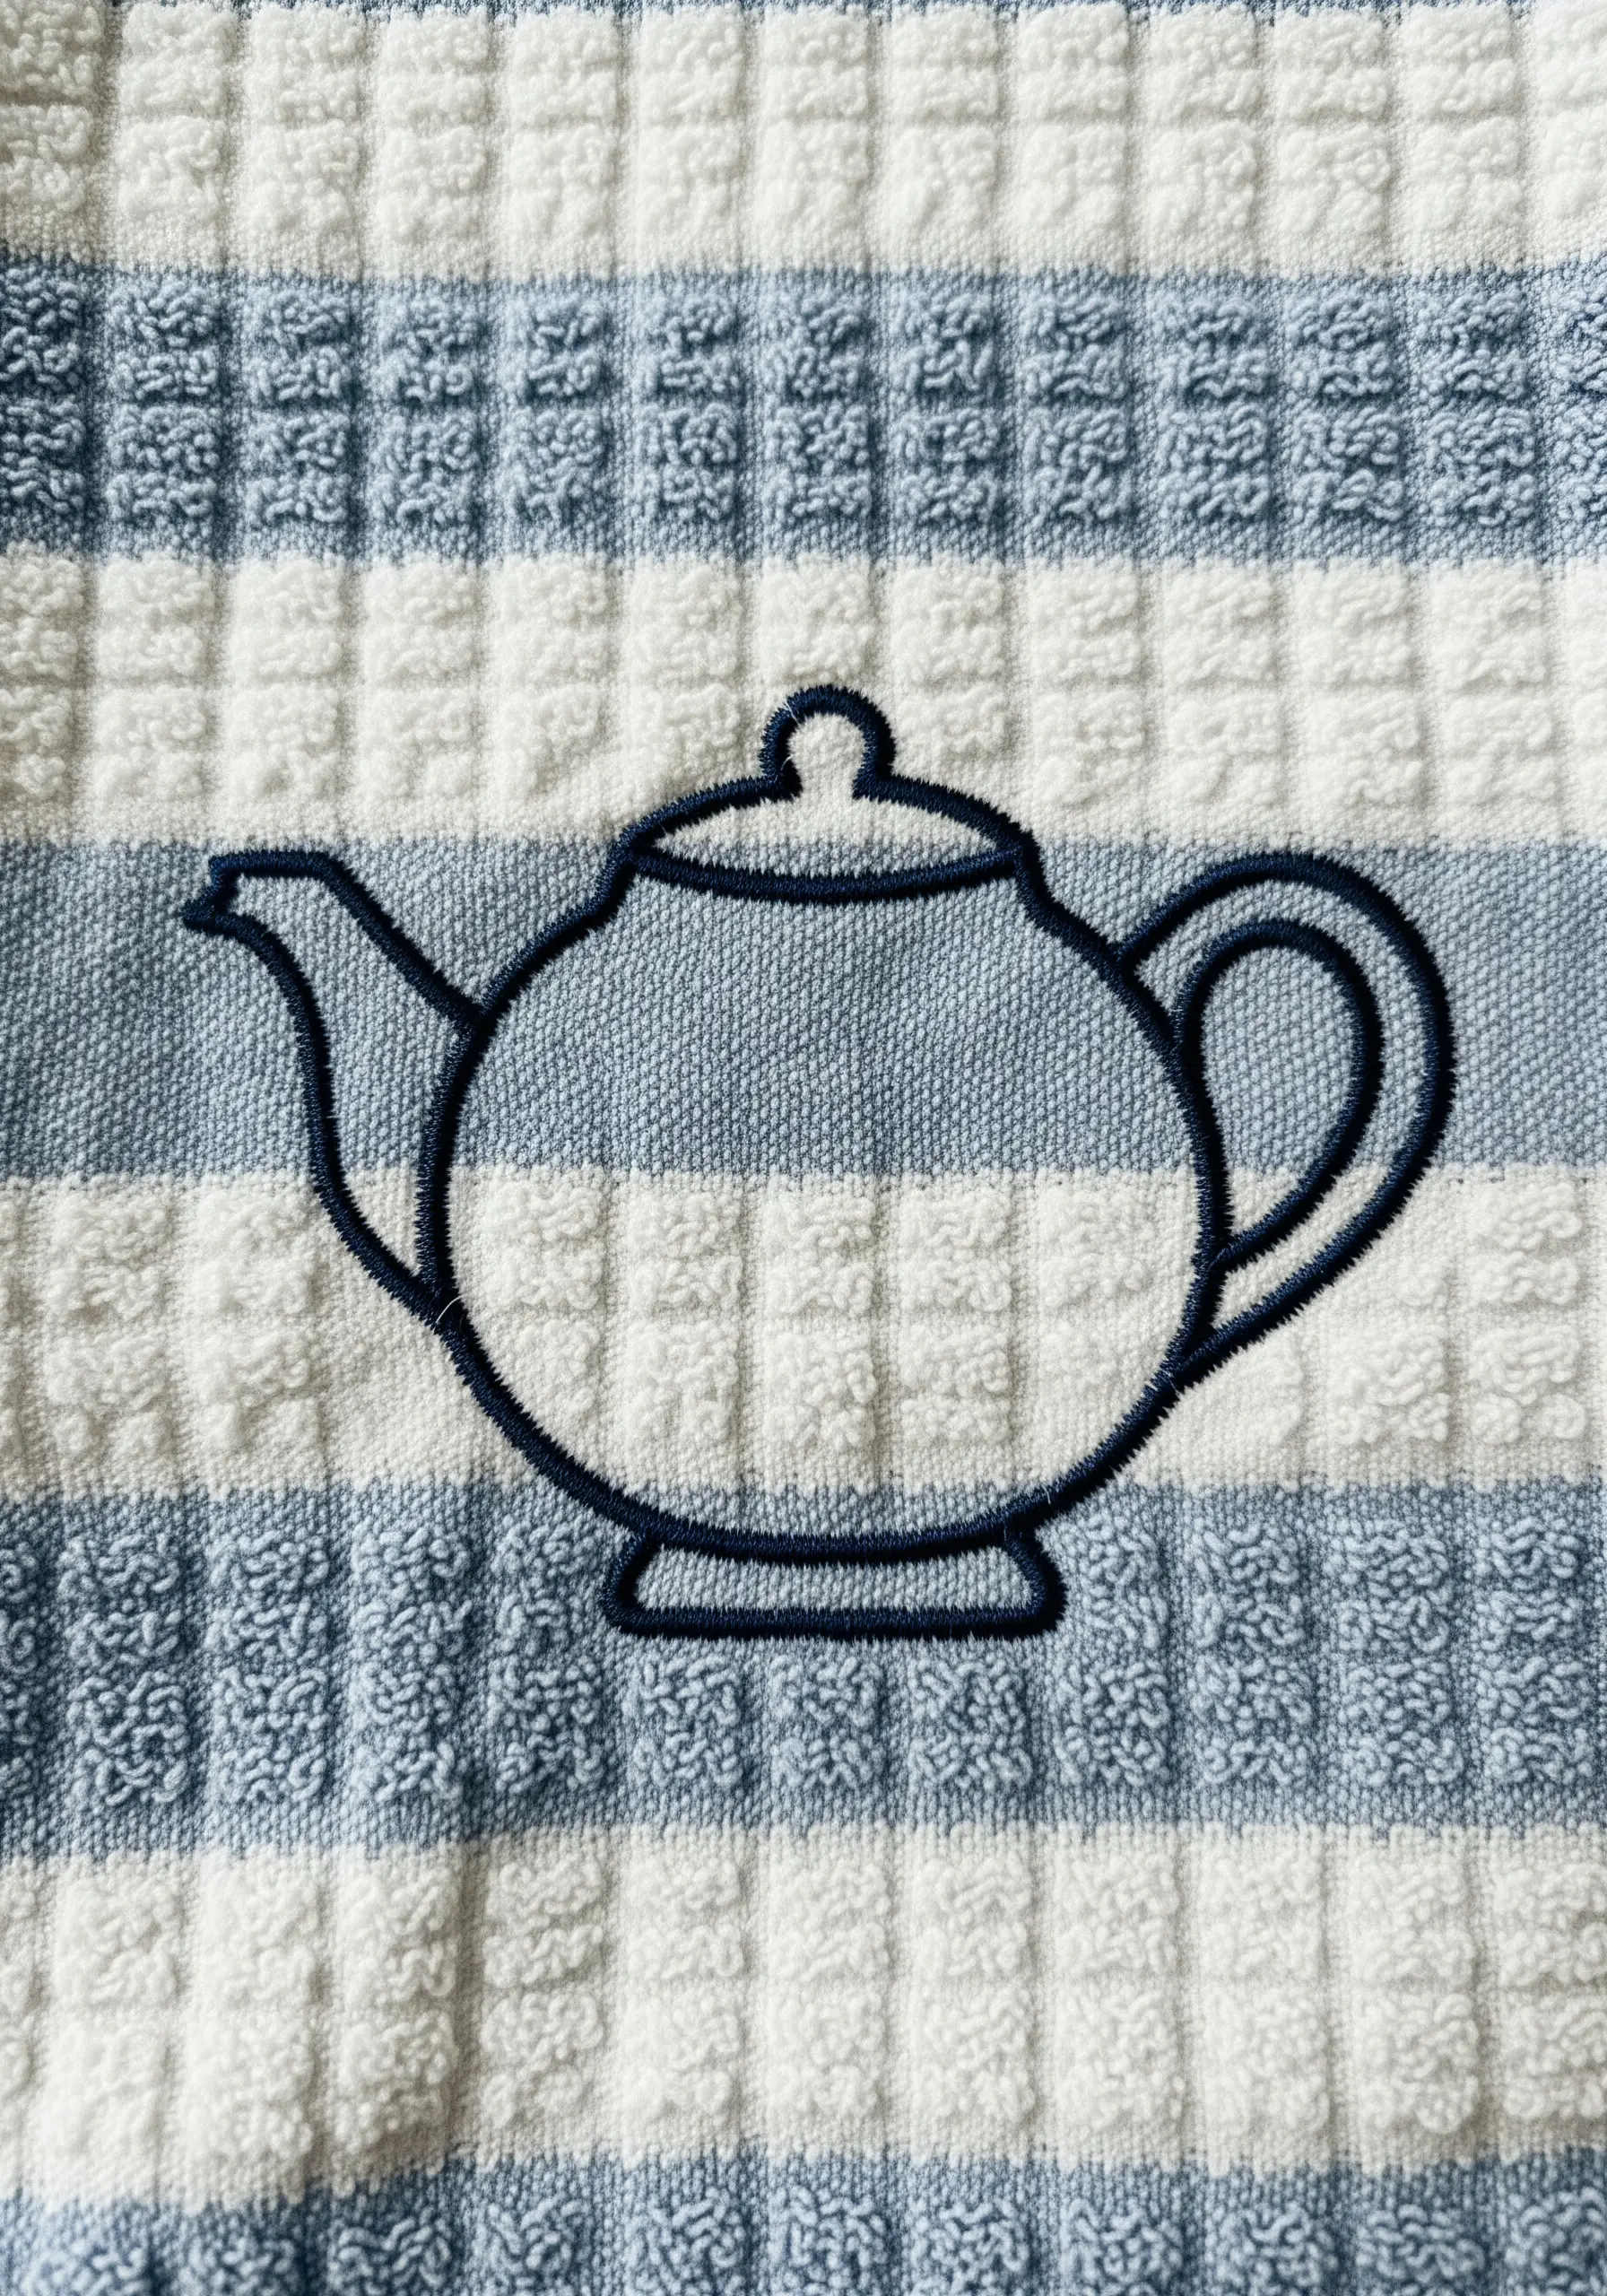
Stitching on highly textured fabric like terrycloth can be challenging, as stitches can easily sink and disappear.
The solution is to use a water-soluble stabilizer on top of the fabric. Hoop the towel with the stabilizer, stitch your design directly through it, and then wash it away.
For the outline itself, choose a bold stitch like a chain stitch or use at least four strands of floss for your backstitch.
This ensures your teapot outline sits proudly on the surface rather than getting lost in the loops.
18. Mimic Wood Grain with Blended Threads

To capture the rich, layered texture of cinnamon sticks, avoid using a single flat color.
Instead, fill the shape with a long-and-short stitch using three different shades of brown—a light, medium, and dark.
Work in sections, allowing the colors to blend into one another organically. This creates a subtle gradient that mimics the natural variations in the spice’s bark.
The spiral at the end, rendered in a dark backstitch, is the final touch that makes it instantly recognizable.
19. Embrace Simplicity with a Graphic Fish
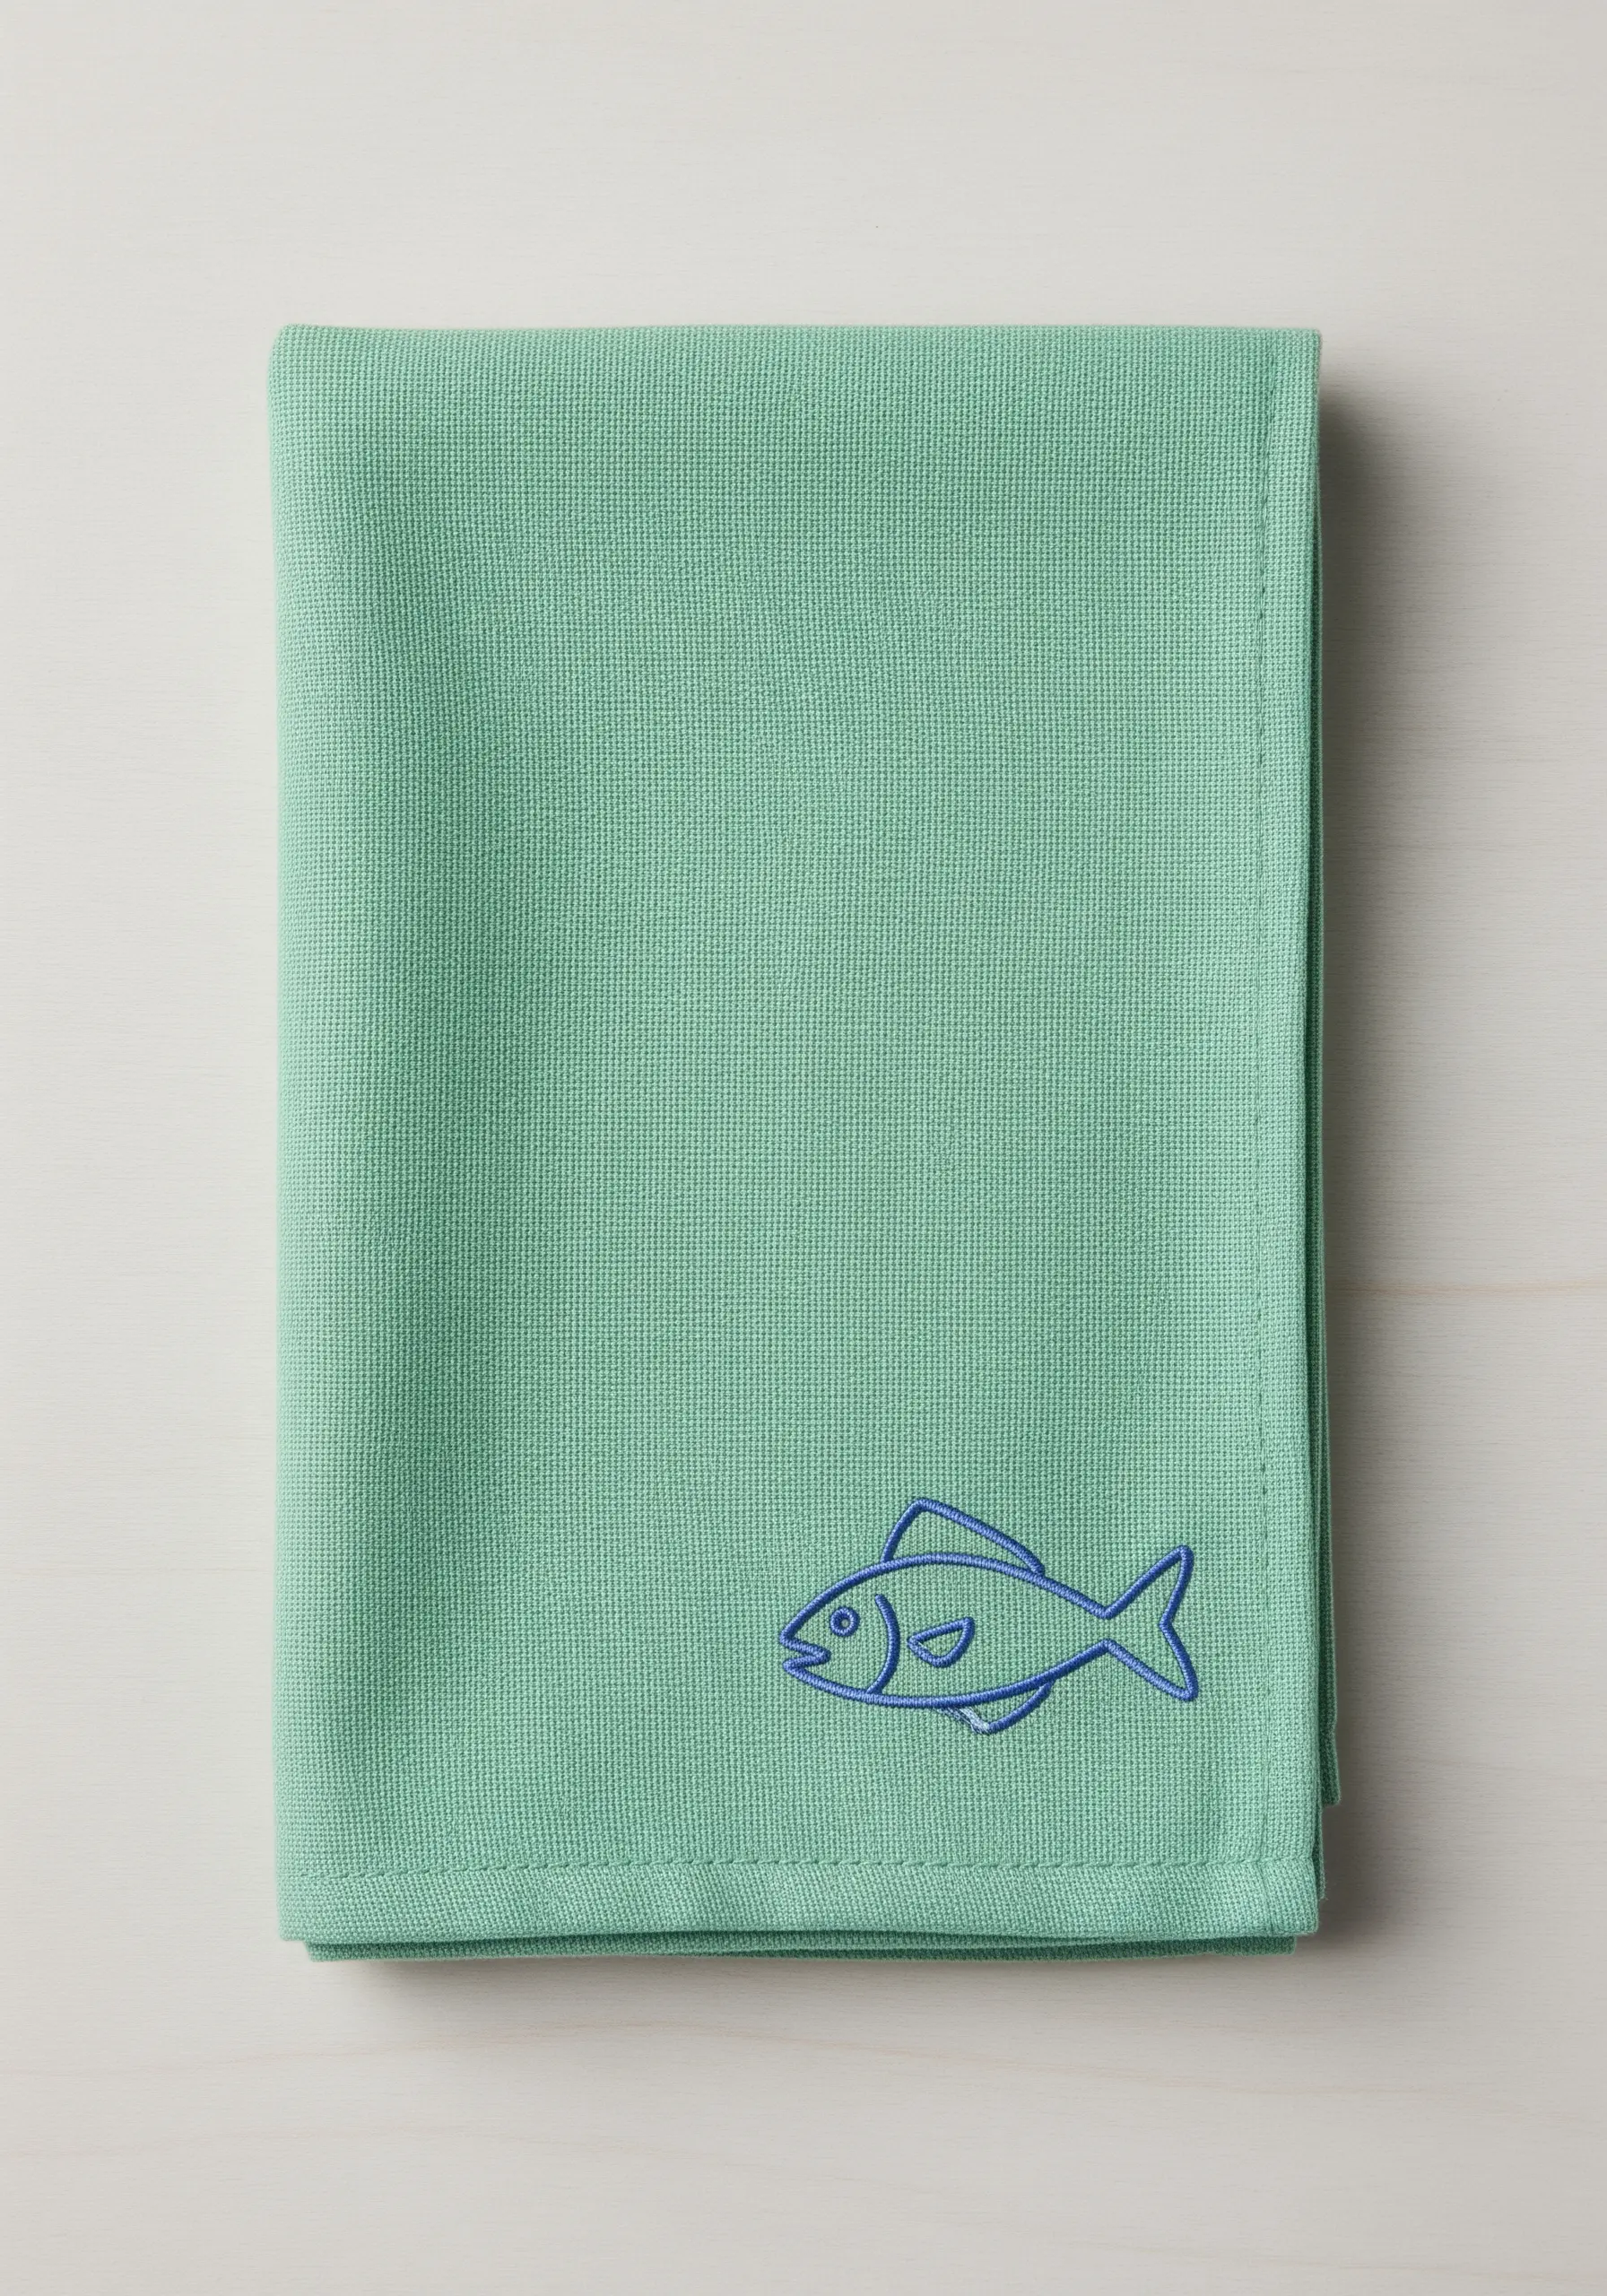
This design proves that you don’t need complex fills to create a charming motif.
Focus on a clean, crisp outline using a split stitch, which creates a solid line that resembles a delicate chain.
Using two shades of blue—a darker one for the main body and a lighter one for the fin and gill details—adds just enough interest.
This minimalist approach is quick, modern, and allows the color of the towel to become part of the design itself.
20. Suggest Detail with Negative Space
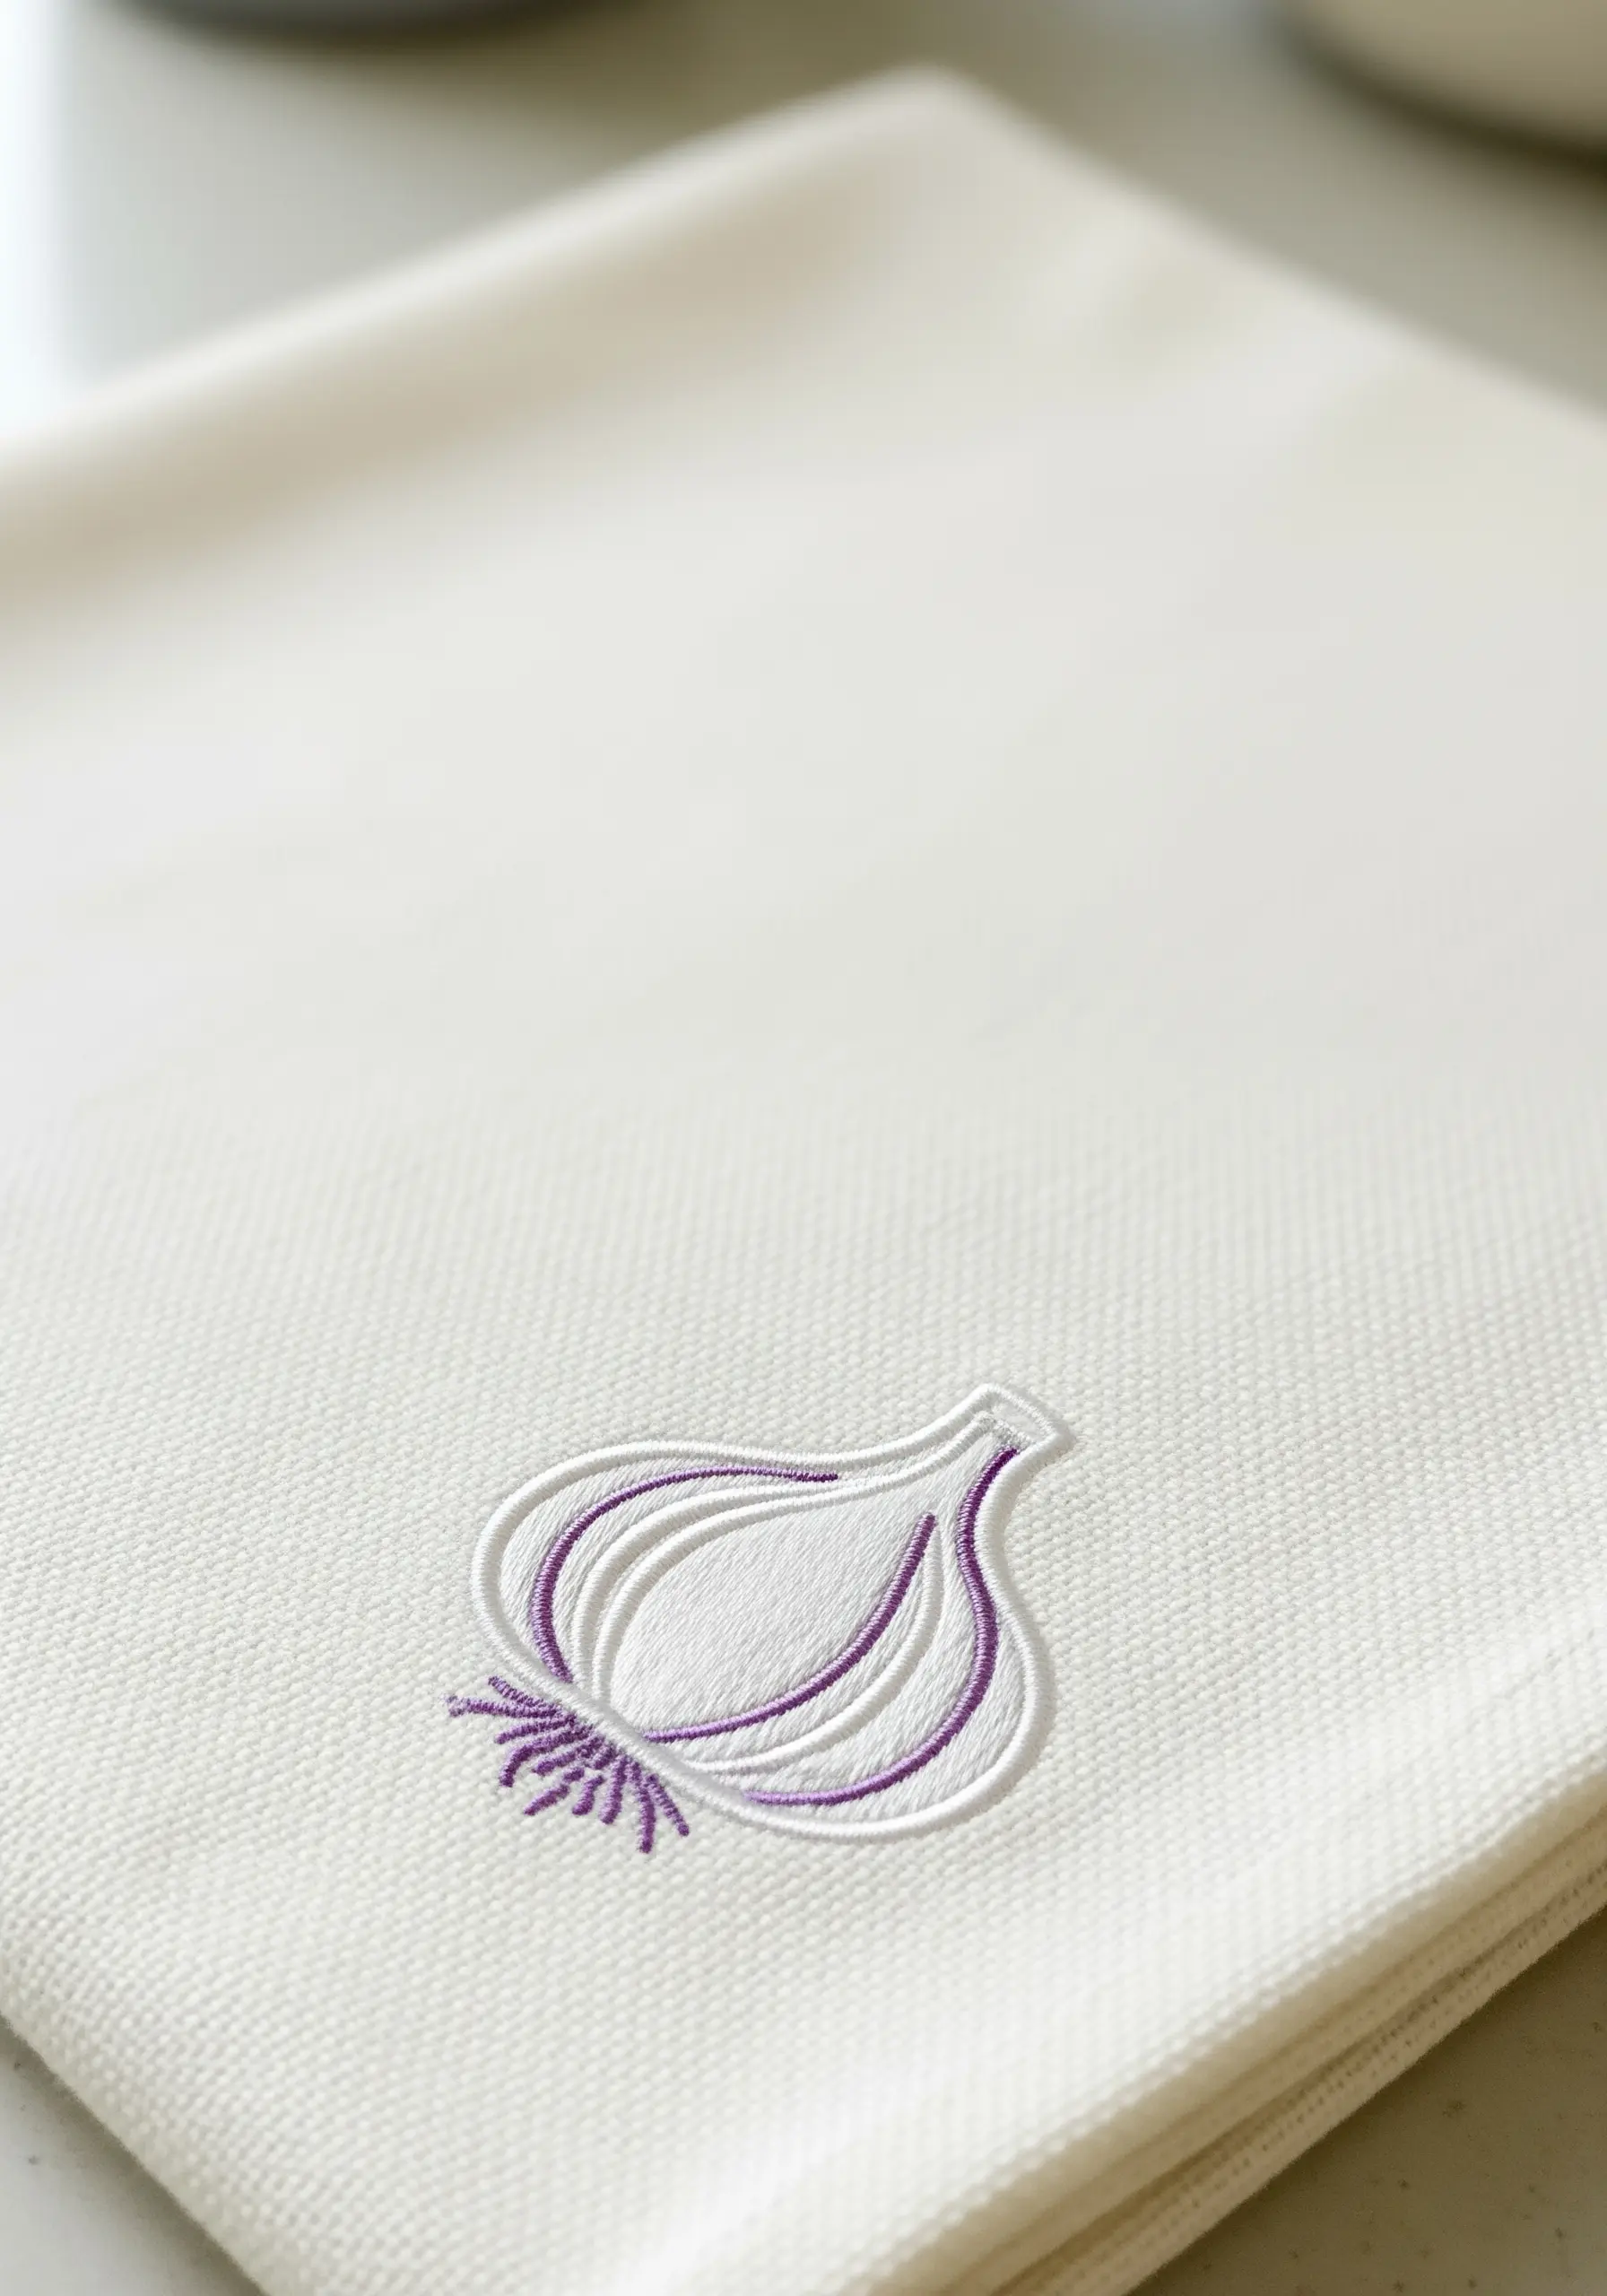
You can create the impression of detail without stitching every single line.
This garlic bulb is defined by a clean white backstitch outline. The magic happens with the few strategically placed purple lines.
These simple stitches suggest the papery, veined layers of the skin without cluttering the design.
By leaving most of the interior empty, you allow the negative space to do the work, resulting in a design that feels light, airy, and effortlessly elegant.


